When you pick up a cordless drill, the clutch setting often seems like a small detail. But this simple dial can make a big difference in your work. Using the right clutch setting protects your materials, saves your drill from damage, and helps you work more efficiently. If you’ve ever stripped a screw or felt your drill suddenly stop, you’ve seen why the clutch matters. Understanding clutch settings is not just for professionals—anyone who uses a drill can benefit. This guide will help you choose the best clutch setting for your project, avoid common mistakes, and get better results with less effort.
Article Summary
What Is A Drill Clutch Setting?
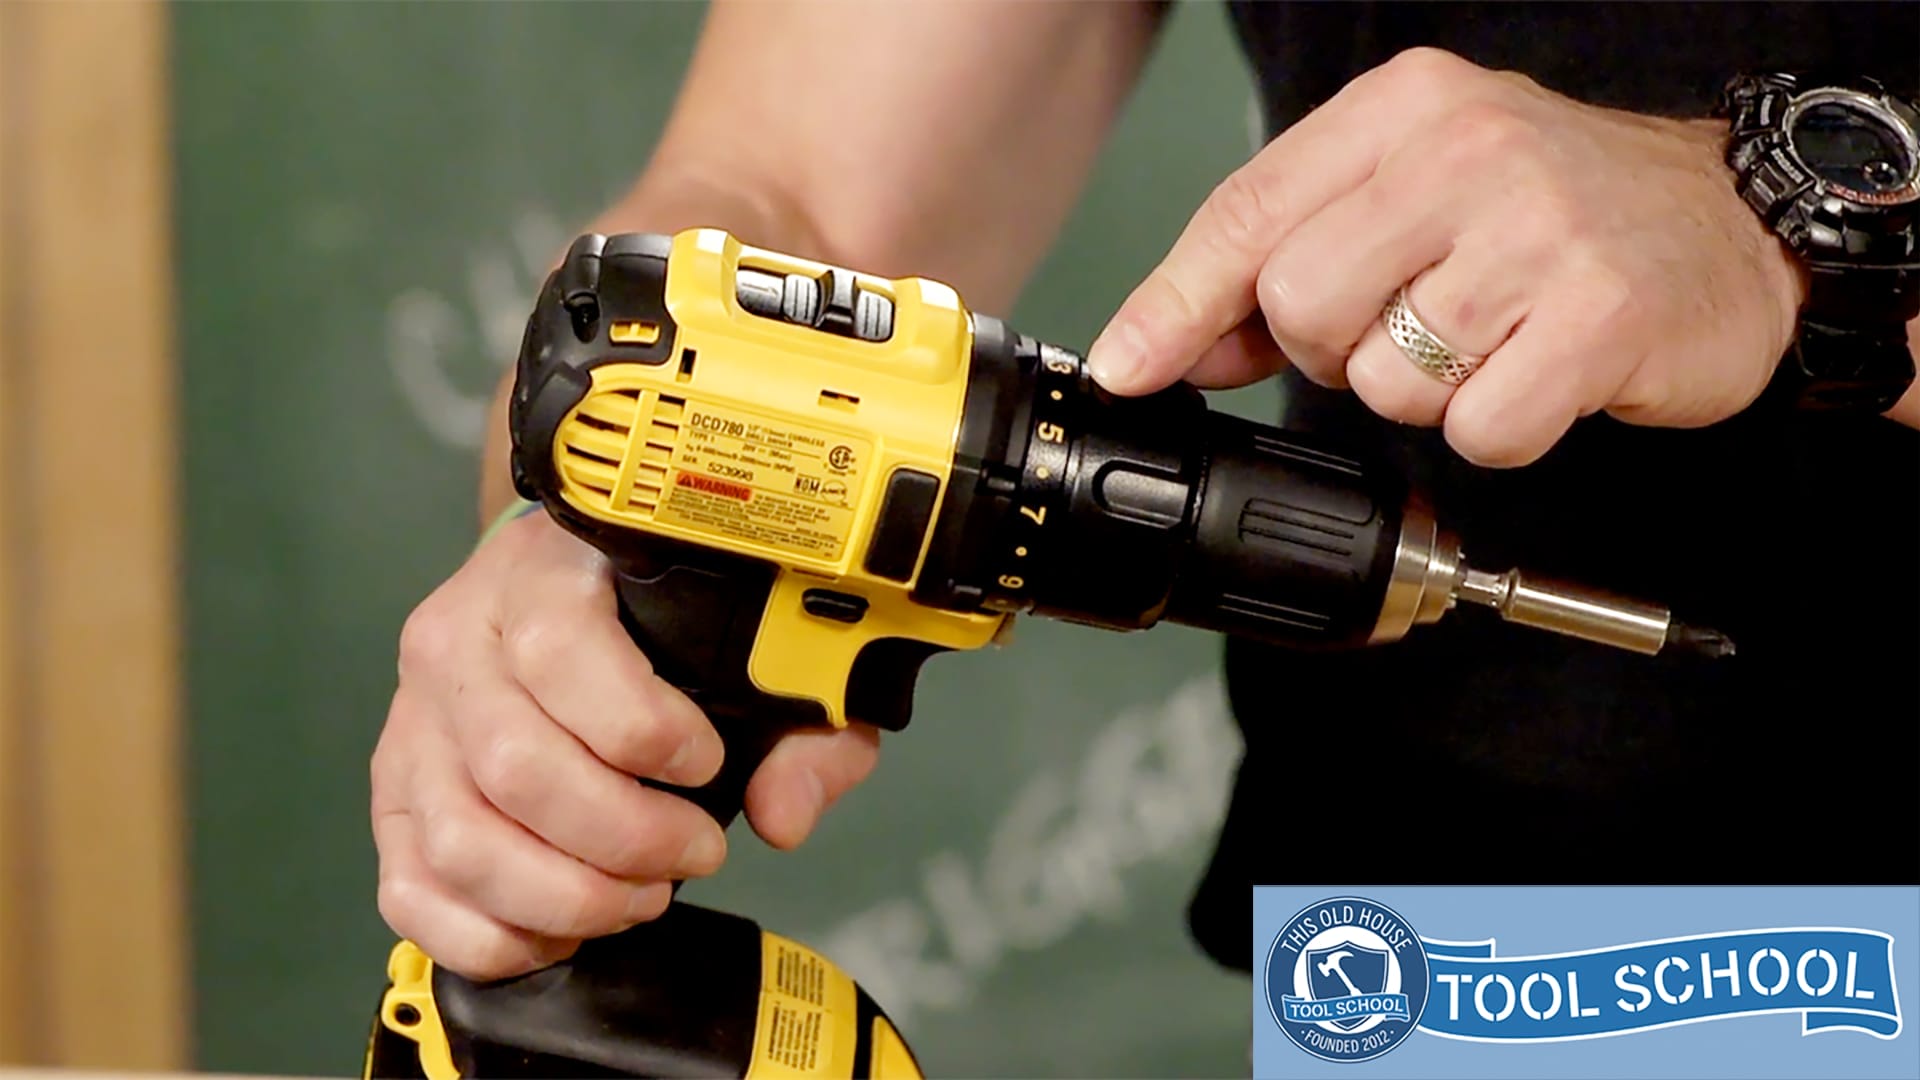
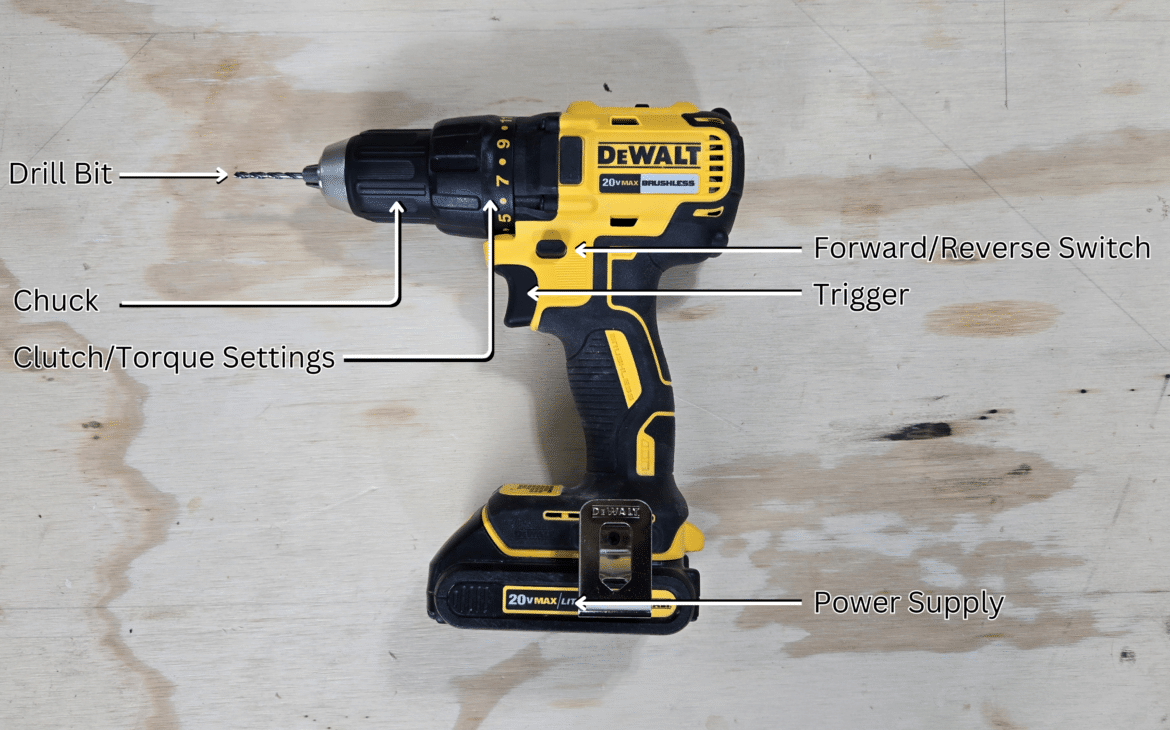
The clutch on a drill is a ring with numbers (usually from 1 to 20 or more) between the chuck and the handle. Its job is to control the torque—the turning force the drill uses to drive screws or drill holes. When the torque reaches the limit set by the clutch, the drill stops spinning, preventing over-tightening or damage.
For example, if you set the clutch to “5,” the drill will stop once it reaches that level of torque. Higher numbers allow more torque, which is useful for tough jobs. Lower numbers protect delicate materials. Most drills also have a “drill” mode or icon, which turns off the clutch so you get maximum torque for drilling.
How To Choose The Right Clutch Setting
Choosing the right clutch setting depends on three factors: the material, the size of the screw, and the task. Here’s how to decide:
| Material | Recommended Clutch Setting | Why |
|---|---|---|
| Softwood (pine, cedar) | 3-7 | Prevents overdriving screws |
| Hardwood (oak, maple) | 8-12 | Needs more torque |
| Drywall | 1-3 | Protects fragile material |
| Metal | 13-20 | High resistance |
Screw Size And Task
- Small screws: Use lower settings (1–5). This avoids stripping the screw head or breaking the screw.
- Medium screws: Use mid-range settings (6–12). Good for general woodwork and furniture assembly.
- Large screws or lag bolts: Use high settings (13–20). Needed for heavy-duty tasks, like framing or drilling into metal.
If you’re drilling holes instead of driving screws, switch to “drill” mode, which disables the clutch for maximum power.
Credit: www.thisoldhouse.com
Example: Setting The Clutch For Common Projects
Let’s look at three projects and the ideal clutch settings.
| Project | Clutch Setting | Reason |
|---|---|---|
| Assembling IKEA furniture | 3–6 | Protects particleboard and prevents overdriving |
| Hanging shelves in drywall | 2–4 | Stops before damaging wall anchors |
| Building a deck | 12–18 | Needs high torque for large screws in hardwood |
Many beginners use “drill” mode for everything, which is risky. This mode is only for drilling holes, not driving screws. If you use drill mode for screws, you can strip heads, break fasteners, or ruin your work.
Common Mistakes And How To Avoid Them
A few mistakes happen often, especially for new users:
- Using too high a clutch setting: This can damage your material or strip the screw head.
- Using too low a clutch setting: The drill stops before the screw is fully driven, leaving it loose.
- Forgetting to adjust the clutch: Different jobs need different settings. Always check before you start.
- Not testing first: Try your setting on a scrap piece before starting your main project. This helps you avoid errors.
A non-obvious tip: Temperature can affect torque. If you work in cold weather, materials like wood and metal become harder, and you may need a slightly higher clutch setting.
Another insight: Battery power changes torque. When your drill’s battery is low, it delivers less torque. If you notice the clutch slipping earlier than expected, check the battery.

Credit: www.youtube.com
How Clutch Settings Affect Drill Performance
The clutch not only protects screws and materials but also your drill’s motor. By stopping the drill when torque is too high, it prevents overheating and extends the tool’s lifespan.
Here’s a comparison of performance outcomes:
| Clutch Setting | Result | Material Safety | Drill Safety |
|---|---|---|---|
| Low (1–5) | Screw stops early | High | High |
| Medium (6–12) | Screw fully driven | Medium | Medium |
| High (13–20) | Maximum torque | Lower | Lower |
| Drill mode | No clutch | Lowest | Lowest |
Practical Tips For Getting The Best Results
- Start with a lower setting and increase as needed. It’s safer to tighten screws slowly.
- Use a magnetic bit holder for stability, especially on high torque settings.
- Clean your drill’s clutch ring regularly. Dust can make the numbers hard to read.
- For repetitive tasks, mark your favorite clutch setting with a small sticker or marker.
- Always check for “drill” mode before driving screws. Switching modes prevents mistakes.
If you want more technical details about torque and clutch design, you can read this Wikipedia article.
Credit: www.colegiofenixpa.com.br
Frequently Asked Questions
What Happens If I Use The Wrong Clutch Setting?
If you use a clutch setting that’s too high, you might strip the screw or damage the material. If it’s too low, the screw won’t go in all the way and could loosen over time.
Can I Use Drill Mode For Driving Screws?
You should avoid using drill mode for screws. Drill mode disables the clutch, so you risk overdriving, stripping, or breaking screws. Use it only for drilling holes.
How Do I Know Which Clutch Setting To Use?
Test your setting on scrap material. Start low and increase until the screw is fully seated but not over-tightened. Adjust based on material and screw size.
Does The Clutch Setting Affect Battery Life?
Yes, higher clutch settings and drill mode use more power. Lower settings can help your battery last longer, especially for light tasks.
Can Clutch Settings Vary Between Drill Brands?
Absolutely. Some drills have more settings, and the torque range can differ. Always check your drill’s manual to understand the numbers and recommended uses.
Using the right clutch setting makes your projects easier, safer, and more professional. Whether you’re a beginner or experienced, small details like clutch adjustment are worth your attention. By following these tips and understanding how the clutch works, you can avoid mistakes and get the most from your drill every time.