Have you ever been in the middle of a project when your drill suddenly stops gripping the bit? A stripped drill chuck can bring your work to a frustrating halt.
But don’t worry—you don’t have to throw your drill away or rush to buy a new one. Fixing a stripped drill chuck is easier than you think, and with a few simple steps, you can get your drill working like new again.
Keep reading, and you’ll learn exactly how to tackle this common problem quickly and confidently.
Signs Of A Stripped Drill Chuck
Recognizing the signs of a stripped drill chuck is crucial to keep your drill working well. A stripped chuck can cause trouble holding drill bits tightly. This problem can make your work harder and less safe.
Common Symptoms
The drill bit slips or spins without turning the screw or wood. You hear strange noises when tightening the chuck. The chuck collar feels loose or wobbly. It becomes hard to tighten or loosen the chuck. Your drill bit falls out unexpectedly during use.
Impact On Drill Performance
A stripped chuck reduces the drill’s grip power. It causes the drill bit to slip and lose control. This lowers your accuracy and slows your work. The drill might stop working properly or overheat. It can damage the drill motor or other parts.
Tools Needed For Repair
Fixing a stripped drill chuck needs the right tools. Having the correct tools helps you work safely and quickly. Gather all tools before starting the repair. This saves time and avoids frustration.
Basic Hand Tools
Start with simple hand tools. A flathead screwdriver is useful for prying parts gently. A Phillips screwdriver helps remove screws inside the chuck. Use needle-nose pliers to hold small parts firmly. A hammer can tap loose stuck pieces carefully. Wrenches or adjustable spanners help remove the chuck from the drill shaft. A clean cloth or rag keeps parts free of dirt and oil. These tools are common in most toolboxes.
Specialized Equipment
Some repairs need specific equipment. A chuck key fits into the chuck to tighten or loosen it. An impact driver helps loosen very tight screws or bolts. A gear puller can remove the chuck without damage. Lubricants like WD-40 loosen rusty parts. A small wire brush cleans threads and gears. These tools make fixing a stripped chuck easier and protect your drill parts.
Step-by-step Repair Methods
Fixing a stripped drill chuck needs clear steps. Follow each step carefully for best results. These steps help you repair the chuck safely and quickly. You will learn how to remove, clean, tighten, and replace parts of the chuck.
Removing The Chuck
Start by unplugging the drill or removing its battery. Hold the drill firmly. Turn the chuck counterclockwise to loosen it. Some chucks need a key to open. If stuck, use a wrench for extra grip. Remove the chuck completely from the drill.
Cleaning And Inspecting Components
Use a brush to clean dirt and grease. Wipe the chuck with a dry cloth. Check for cracks or worn teeth inside the chuck. Look for debris that may block movement. Clean all parts thoroughly before moving on.
Re-tightening The Chuck
Place the chuck back on the drill spindle. Turn it clockwise to tighten by hand. Use a chuck key or wrench for a firm grip. Do not overtighten to avoid damage. Test the chuck by inserting a drill bit and tightening it securely.
Replacing Damaged Parts
Identify parts that are broken or worn out. Order replacement parts from the drill manufacturer or hardware store. Remove the damaged parts carefully. Install new parts following the manual instructions. Reassemble the chuck and test it for proper function.

Credit: www.youtube.com
Preventing Future Stripping
Preventing future stripping of a drill chuck helps save time and money. It keeps your drill working smoothly. Simple habits can protect the chuck from damage. These tips help you avoid common mistakes that cause stripping.
Proper Usage Tips
Always use the right drill bit for the job. Avoid forcing the chuck to hold bits that are too large or small. Tighten the chuck by hand before using power. Use steady pressure and avoid sudden twists. Stop drilling if the bit slips or feels loose. Store your drill in a dry place to stop rust.
Regular Maintenance
Clean the chuck regularly to remove dust and debris. Use a small brush or compressed air for cleaning. Apply a light machine oil to the chuck moving parts. Check for wear or damage before each use. Replace worn parts to keep the chuck working well. Regular care extends the life of your drill chuck.
When To Replace The Chuck
Knowing when to replace a stripped drill chuck can save time and prevent frustration. Not all damage can be fixed with simple repairs. Sometimes the chuck wears out or breaks beyond repair. Replacing it ensures your drill works safely and properly.
Signs Beyond Repair
Look for cracks or deep damage on the chuck body. If the jaws do not tighten or release smoothly, the chuck may be broken. Rust that can’t be removed or causes stiffness is a warning. If the drill bit slips often, the chuck might be too worn. Loose or broken parts inside the chuck also mean replacement is needed.
Choosing A New Chuck
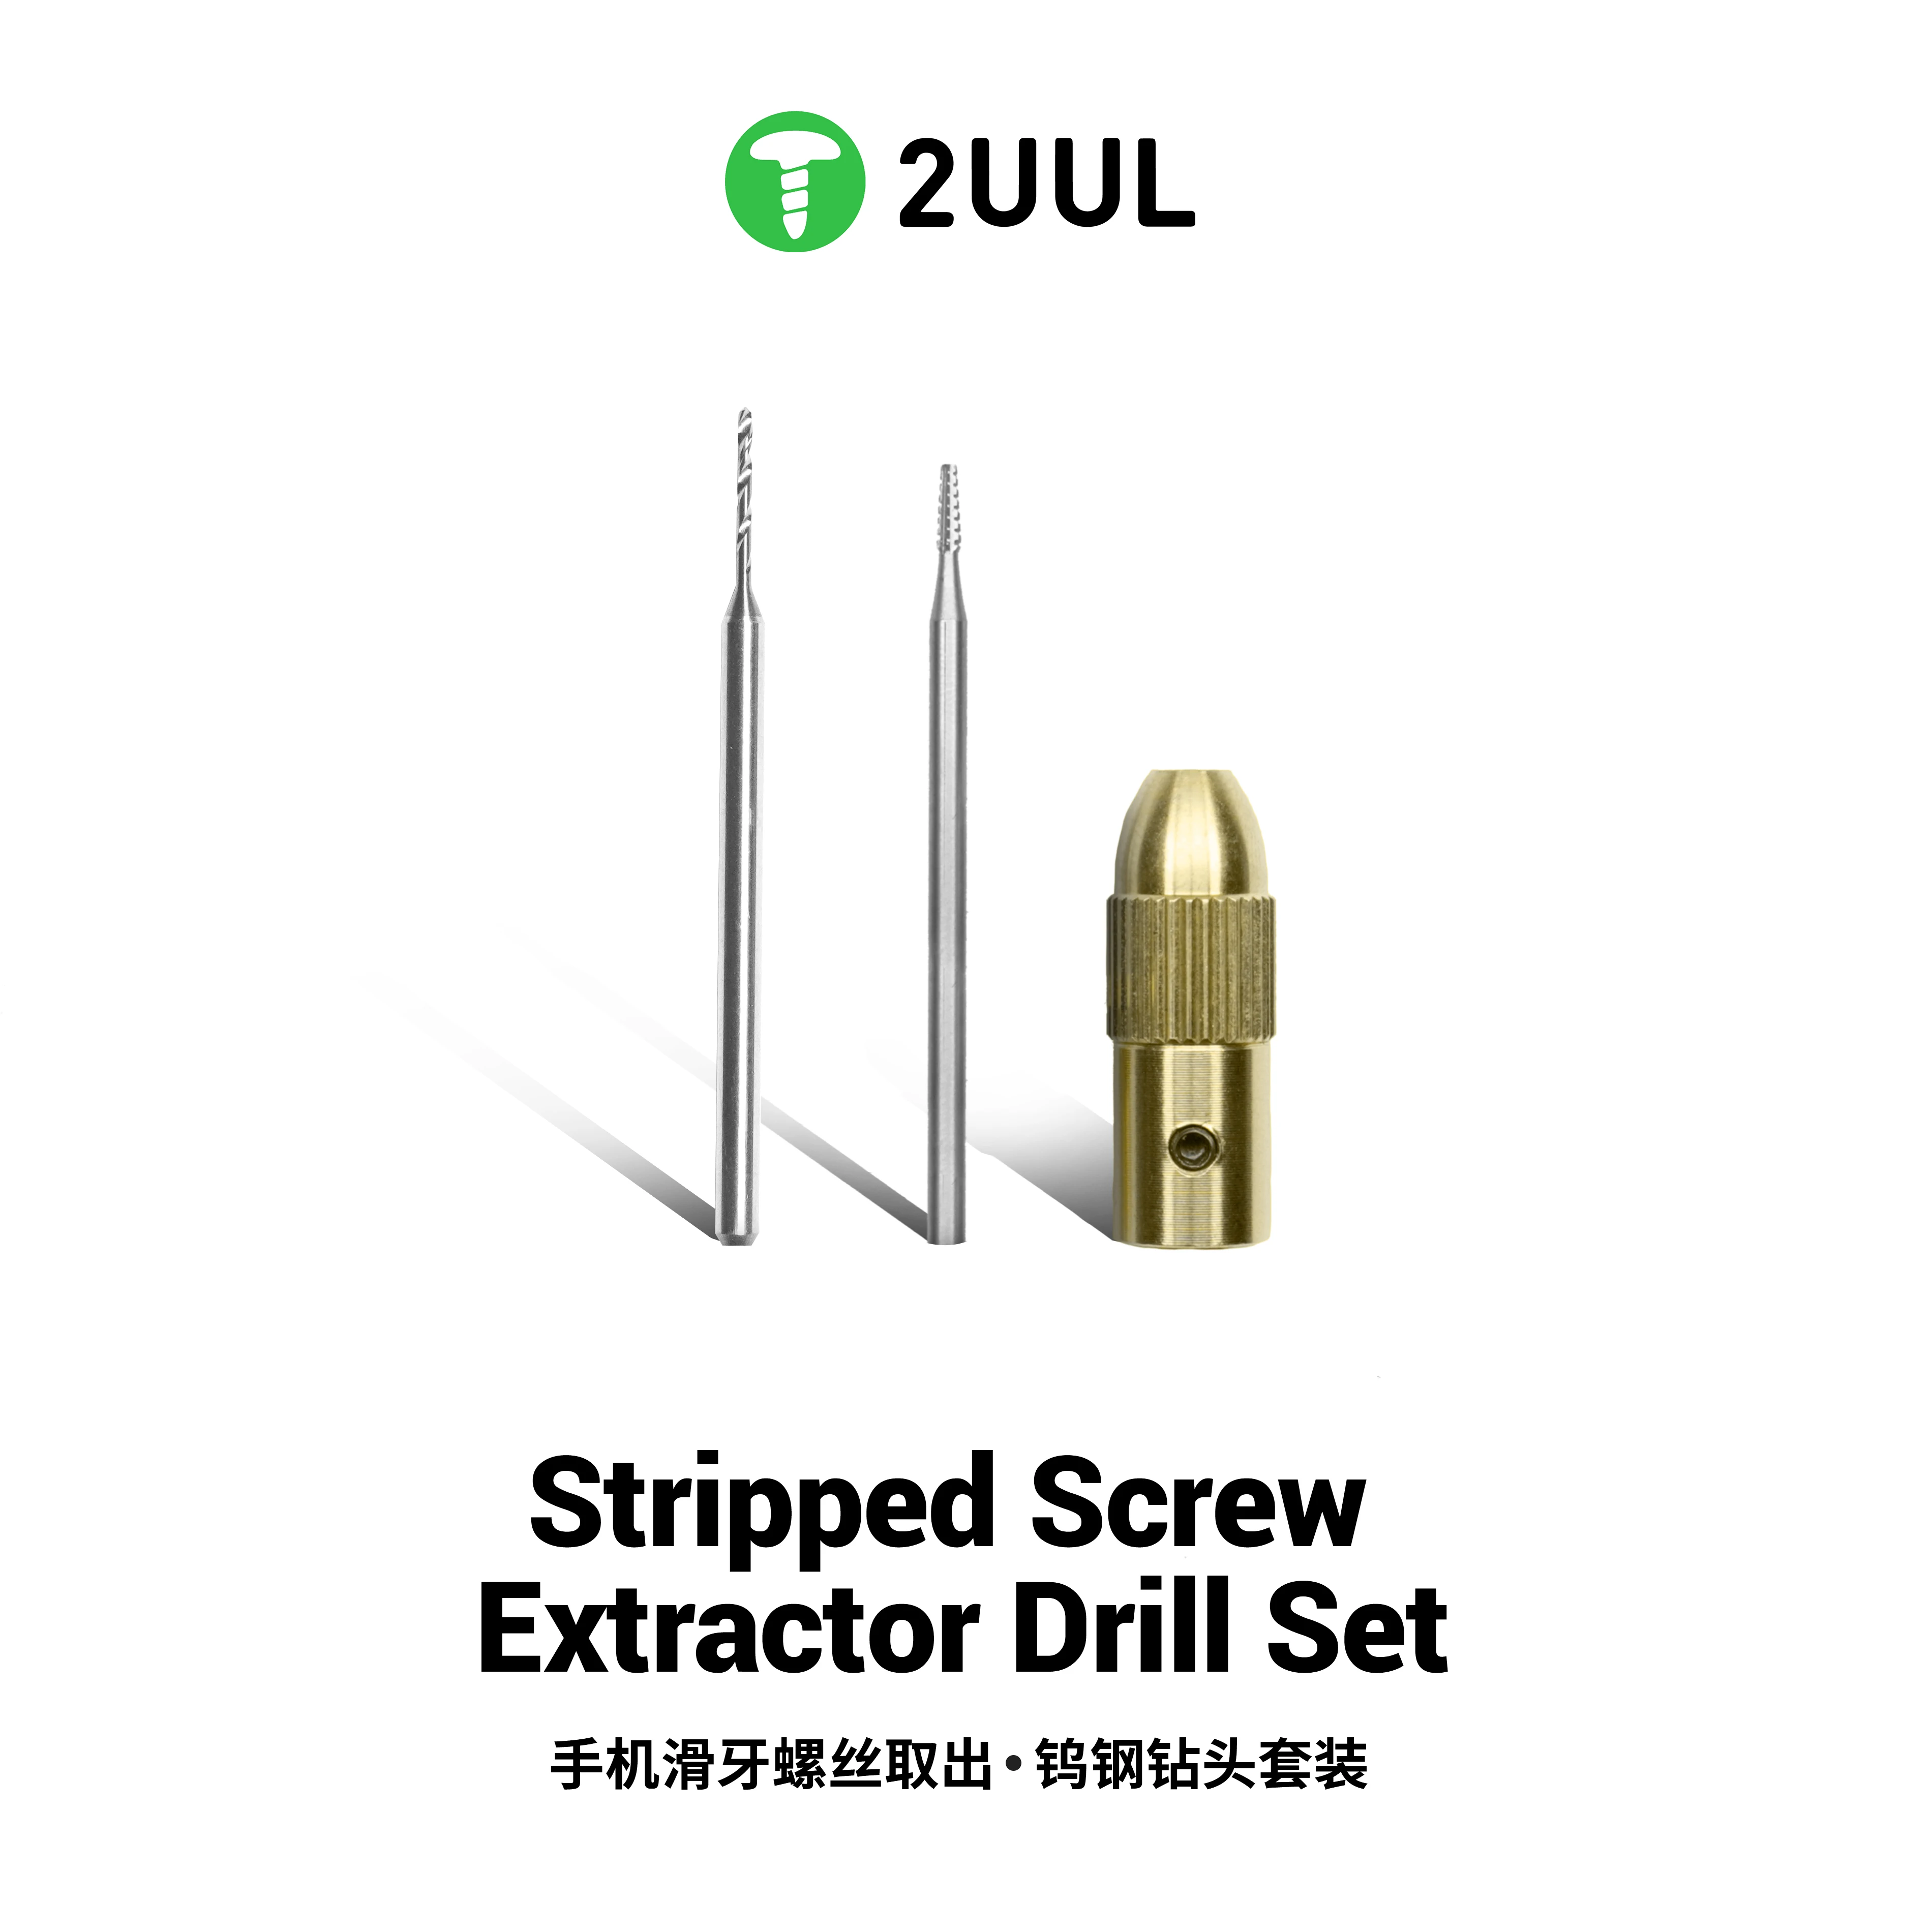
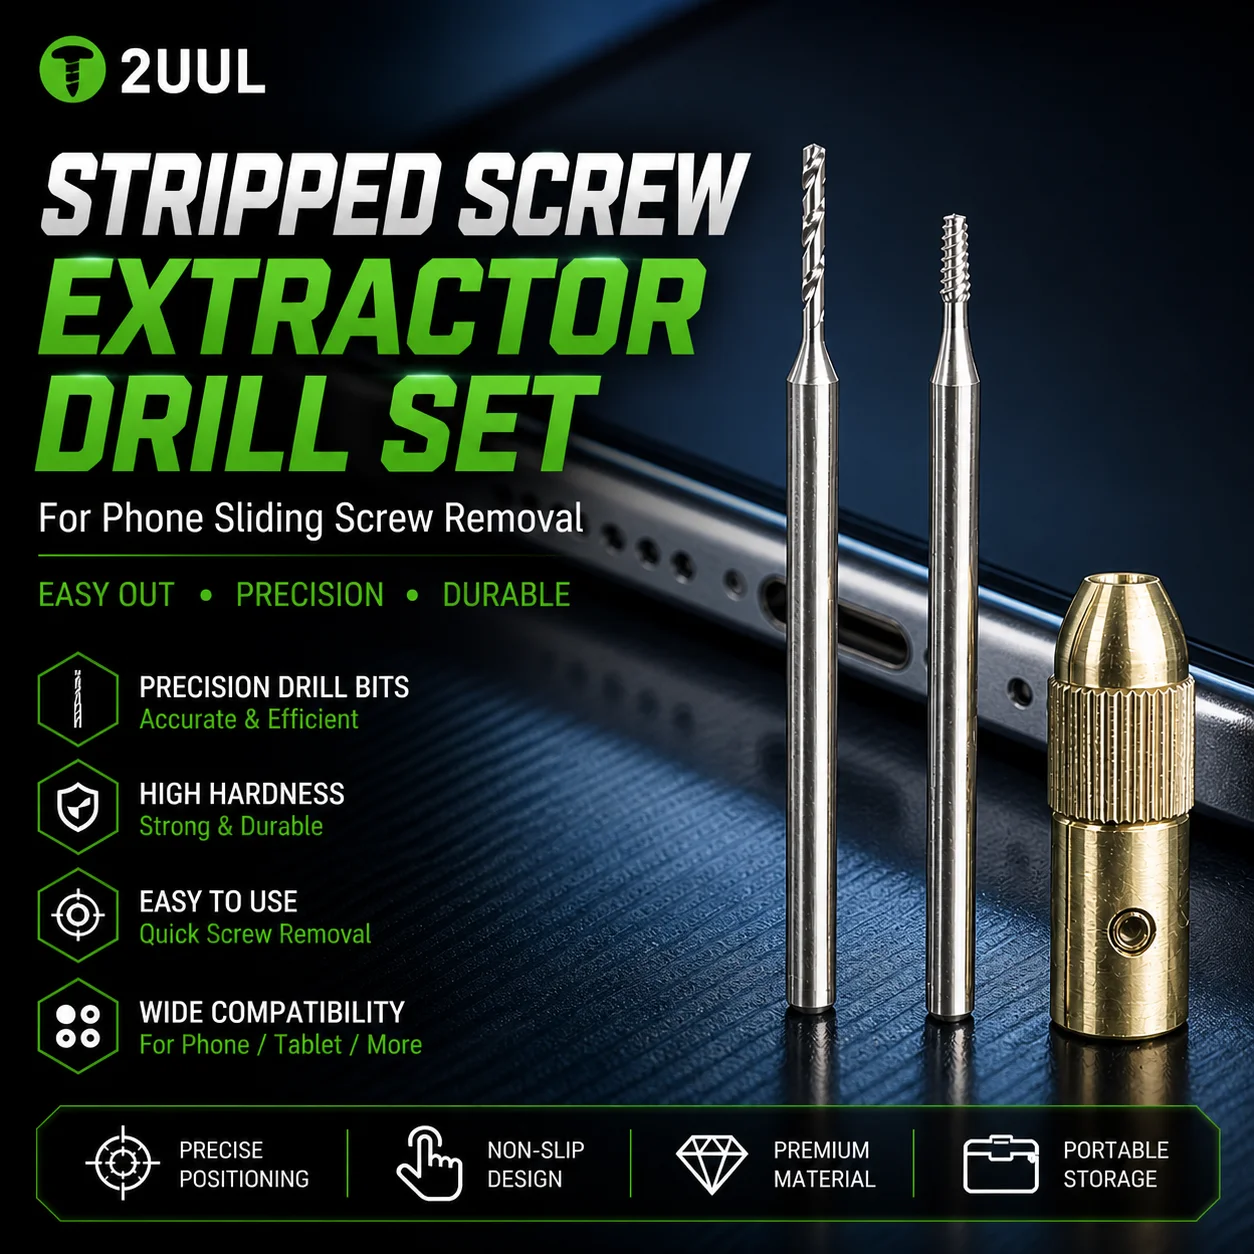
Pick a chuck that matches your drill’s size and type. Check the shank size to ensure it fits your drill. Choose between keyless or keyed chucks based on your preference. Look for durable materials like steel for long-lasting use. Buying a chuck from a trusted brand helps guarantee quality and safety.
Credit: www.ebay.com
Credit: www.aliexpress.com
Frequently Asked Questions
What Causes A Drill Chuck To Become Stripped?
A drill chuck becomes stripped due to excessive force, worn gears, or improper use. Over-tightening or using wrong drill bits can damage the chuck’s grip, causing slippage and loss of function.
How Can I Identify A Stripped Drill Chuck?
A stripped drill chuck shows signs like slipping drill bits, difficulty tightening, or unusual wobbling. If the chuck won’t hold bits firmly, it likely needs repair or replacement.
Can I Fix A Stripped Drill Chuck Myself?
Yes, you can fix a stripped drill chuck by cleaning, lubricating, or replacing worn parts. Minor issues can be resolved at home with basic tools and guidance.
When Should I Replace A Stripped Drill Chuck?
Replace the drill chuck if cleaning and repairs don’t restore grip or if internal parts are severely damaged. Persistent slipping or broken gears indicate it’s time for a new chuck.
Conclusion
Fixing a stripped drill chuck is easier than you might think. Follow the steps carefully and take your time. Using the right tools helps avoid further damage. Regular maintenance can keep your drill working well longer. Don’t rush the repair process.
A little patience goes a long way. Now you can save money by fixing it yourself. Keep your drill ready for any project ahead. Simple fixes like this make a big difference.