Converting a cordless drill to a corded one may sound unusual, but it’s a practical solution for those who want to keep using their favorite tool without worrying about battery life. Maybe your battery has stopped holding a charge, or you need more consistent power for heavy jobs.
Whatever the reason, this conversion can save money and extend the life of your drill. You don’t need advanced skills, but you must be careful and follow the right steps to ensure safety and good performance. This guide will walk you through everything—from understanding why people do this, what you need, step-by-step instructions, and common mistakes to avoid.
By the end, you’ll know exactly how to convert a cordless drill to a corded one, and you’ll have practical tips to make the process easy and safe.
Why Convert A Cordless Drill To A Corded One?
Cordless drills are popular because they’re portable and easy to use. But batteries don’t last forever. They lose capacity after repeated charging, and replacements can be expensive. Sometimes, you need to work for hours and don’t want to stop to recharge.
Converting to corded means you can plug your drill into a power outlet and work as long as you want. This is especially useful for jobs that require continuous drilling or driving, such as building furniture or working on construction sites.
Real-life Example
Mike, a home repair enthusiast, had a cordless drill that stopped holding a charge. Instead of buying a new drill or expensive battery, he converted it to corded for less than $30 using a power supply and some basic wiring.
He now uses his drill for woodworking projects without worrying about interruptions.
Key Benefits
- Unlimited runtime: No more battery swaps or waiting for recharge.
- Cost savings: No need to buy new batteries or drills.
- Consistent power: Stable voltage means smoother performance.
- Eco-friendly: Reduces battery waste and extends tool life.
Non-obvious Insight
Many people don’t realize that converting to corded can make older drills more powerful. Corded power supplies can deliver higher and steadier voltage compared to worn-out batteries, improving torque and speed.
What You Need For The Conversion
Before you start, gather the necessary tools and materials. Choosing the right parts is crucial for safety and performance.
Essential Tools And Materials
- Cordless drill (with dead or weak battery)
- DC power supply (matches the drill’s voltage and current)
- Wire stripper and cutter
- Soldering iron (optional, for better connections)
- Electrical tape
- Heat shrink tubing (optional, for insulation)
- Multimeter (to check voltage)
- Screwdriver
- Connector plugs (optional, for easy removal)
- Power cord (with plug for wall socket)
- Safety goggles and gloves
Choosing The Right Power Supply
Your drill’s battery voltage is key. Most cordless drills use batteries from 12V to 20V. Check the battery label or drill specs. Also, check the current rating—usually between 2A and 5A.
Example Drill Battery Specs
- Voltage: 18V
- Current: 2.5A
You need a DC power supply that delivers 18V and at least 2.5A.
Comparison Of Power Supply Types
Here’s a quick look at common power supply options:
| Type | Pros | Cons |
|---|---|---|
| Adapter/Charger | Cheap, easy to find | May not deliver enough current |
| Bench Power Supply | Adjustable voltage/current, reliable | Expensive, bulky |
| Computer Power Supply (ATX) | High current, can use for multiple devices | Requires modification, not portable |
Non-obvious Insight
A bench power supply is ideal if you want to control voltage and current, but for most home users, a laptop charger with matching voltage and current works well. Always check polarity—wrong connections can damage your drill.
Step-by-step Conversion Process
Ready to get started? Follow these steps carefully. Each step is important for safety and performance.
Step 1: Check Drill And Battery Specifications
Look at your drill’s battery. Write down the voltage and current. Use a multimeter if the label is missing. Make sure your power supply matches these specs.
Step 2: Remove The Battery
Detach the battery from your drill. If the battery pack is dead, you can open it to reuse the connector. Don’t throw away the pack yet; you’ll need it to connect wires.
Step 3: Prepare The Battery Connector
Open the battery casing using a screwdriver. Inside, you’ll see two main terminals: positive (+) and negative (-). You’ll connect wires from the power supply here.
- Strip wires so you have clean ends.
- Use heat shrink tubing for insulation if possible.
Step 4: Connect Power Supply Wires
Take the power supply (for example, a laptop charger). Cut the tip off if needed, and strip the wires. Usually, the center wire is positive, and the outer wire is negative. Confirm with a multimeter.
- Connect positive wire to battery’s positive terminal.
- Connect negative wire to battery’s negative terminal.
- Solder the wires for strong connections, or use crimp connectors.
- Insulate with electrical tape or heat shrink tubing.
Step 5: Secure Connections
Make sure all connections are tight and insulated. Loose wires can cause sparks or damage. Put the battery casing back together, with wires exiting through a small hole.
Step 6: Plug And Test
Plug the power supply into a wall socket. Switch on the drill. Test at slow speed first. If the drill runs smoothly, increase speed. Check for overheating or strange noises.
Step 7: Finalize And Protect
Add extra tape or tubing where wires exit the battery casing. Keep wires organized and away from moving parts. Wear safety goggles during testing.
Step 8: Use Connector Plugs (optional)
If you want to switch between battery and corded mode, use connector plugs. Attach male and female connectors to the wires and battery terminals. This allows quick swaps.
Safety Tips And Common Mistakes
Converting a cordless drill to corded can be safe if you follow basic rules. Here are important safety tips and mistakes to avoid.
Safety Tips
- Always unplug power supply before working on wires.
- Double-check voltage and polarity before connecting.
- Use insulated tools and wear gloves.
- Never use damaged wires or exposed metal.
- Test connections with a multimeter.
Common Mistakes
- Wrong voltage power supply: Using a supply with too high or too low voltage can burn out the drill motor or make it weak.
- Incorrect polarity: Switching positive and negative wires can damage electronics.
- Insufficient current: If the power supply can’t deliver enough amps, your drill may stall or overheat.
- Poor insulation: Exposed wires can cause shocks or short circuits.
- Loose connections: Leads to unreliable performance and can create sparks.
Data: Drill Motor Failure Causes
| Cause | Percentage |
|---|---|
| Overvoltage | 35% |
| Incorrect polarity | 25% |
| Insufficient current | 20% |
| Poor insulation | 10% |
| Other | 10% |
Practical Advice
Always start with a power supply that matches or slightly exceeds the drill’s original battery specs. If you’re unsure, test at low speed and monitor for heat. If the drill feels weak, check the current rating.
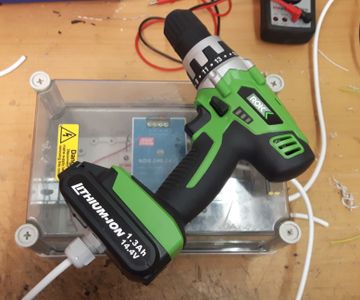
Credit: www.instructables.com
Improving Performance After Conversion
Once you’ve converted your drill, there are ways to optimize performance and make it more reliable.
Using Higher Quality Power Supplies
A high-quality regulated power supply can prevent voltage drops, which can affect torque. If you use a cheap adapter, your drill may slow down or overheat during long jobs.
Adding Overcurrent Protection
Some power supplies have built-in fuses or overcurrent protection. If yours doesn’t, add a fuse between the power supply and drill. This protects against accidental shorts or overloads.
Keeping The Drill Cool
Corded power means longer run times. Overheating is a risk if you push your drill too hard. Take breaks, and check the motor temperature. If the drill gets hot, stop and let it cool.
Real-world Example
Sarah converted her 14V cordless drill using an old laptop charger. She noticed the drill slowed down after 10 minutes of heavy use. Upgrading to a regulated bench supply fixed the issue, and she could use the drill for hours without problems.
Cost Comparison: Cordless Vs Corded Conversion
Is converting your drill really cheaper than buying new batteries or a corded drill? Let’s look at the numbers.
| Option | Estimated Cost | Pros | Cons |
|---|---|---|---|
| Buy new battery | $40–$70 | Easy, keeps drill portable | Expensive, batteries wear out again |
| Buy corded drill | $60–$120 | No battery issues, reliable | Have to buy new tool |
| Convert to corded | $20–$40 | Cheap, reuses old drill | Less portable, needs DIY work |
Data Insight
Most conversions cost under $40, especially if you already have a compatible power supply. This is often less than half the price of a new battery.
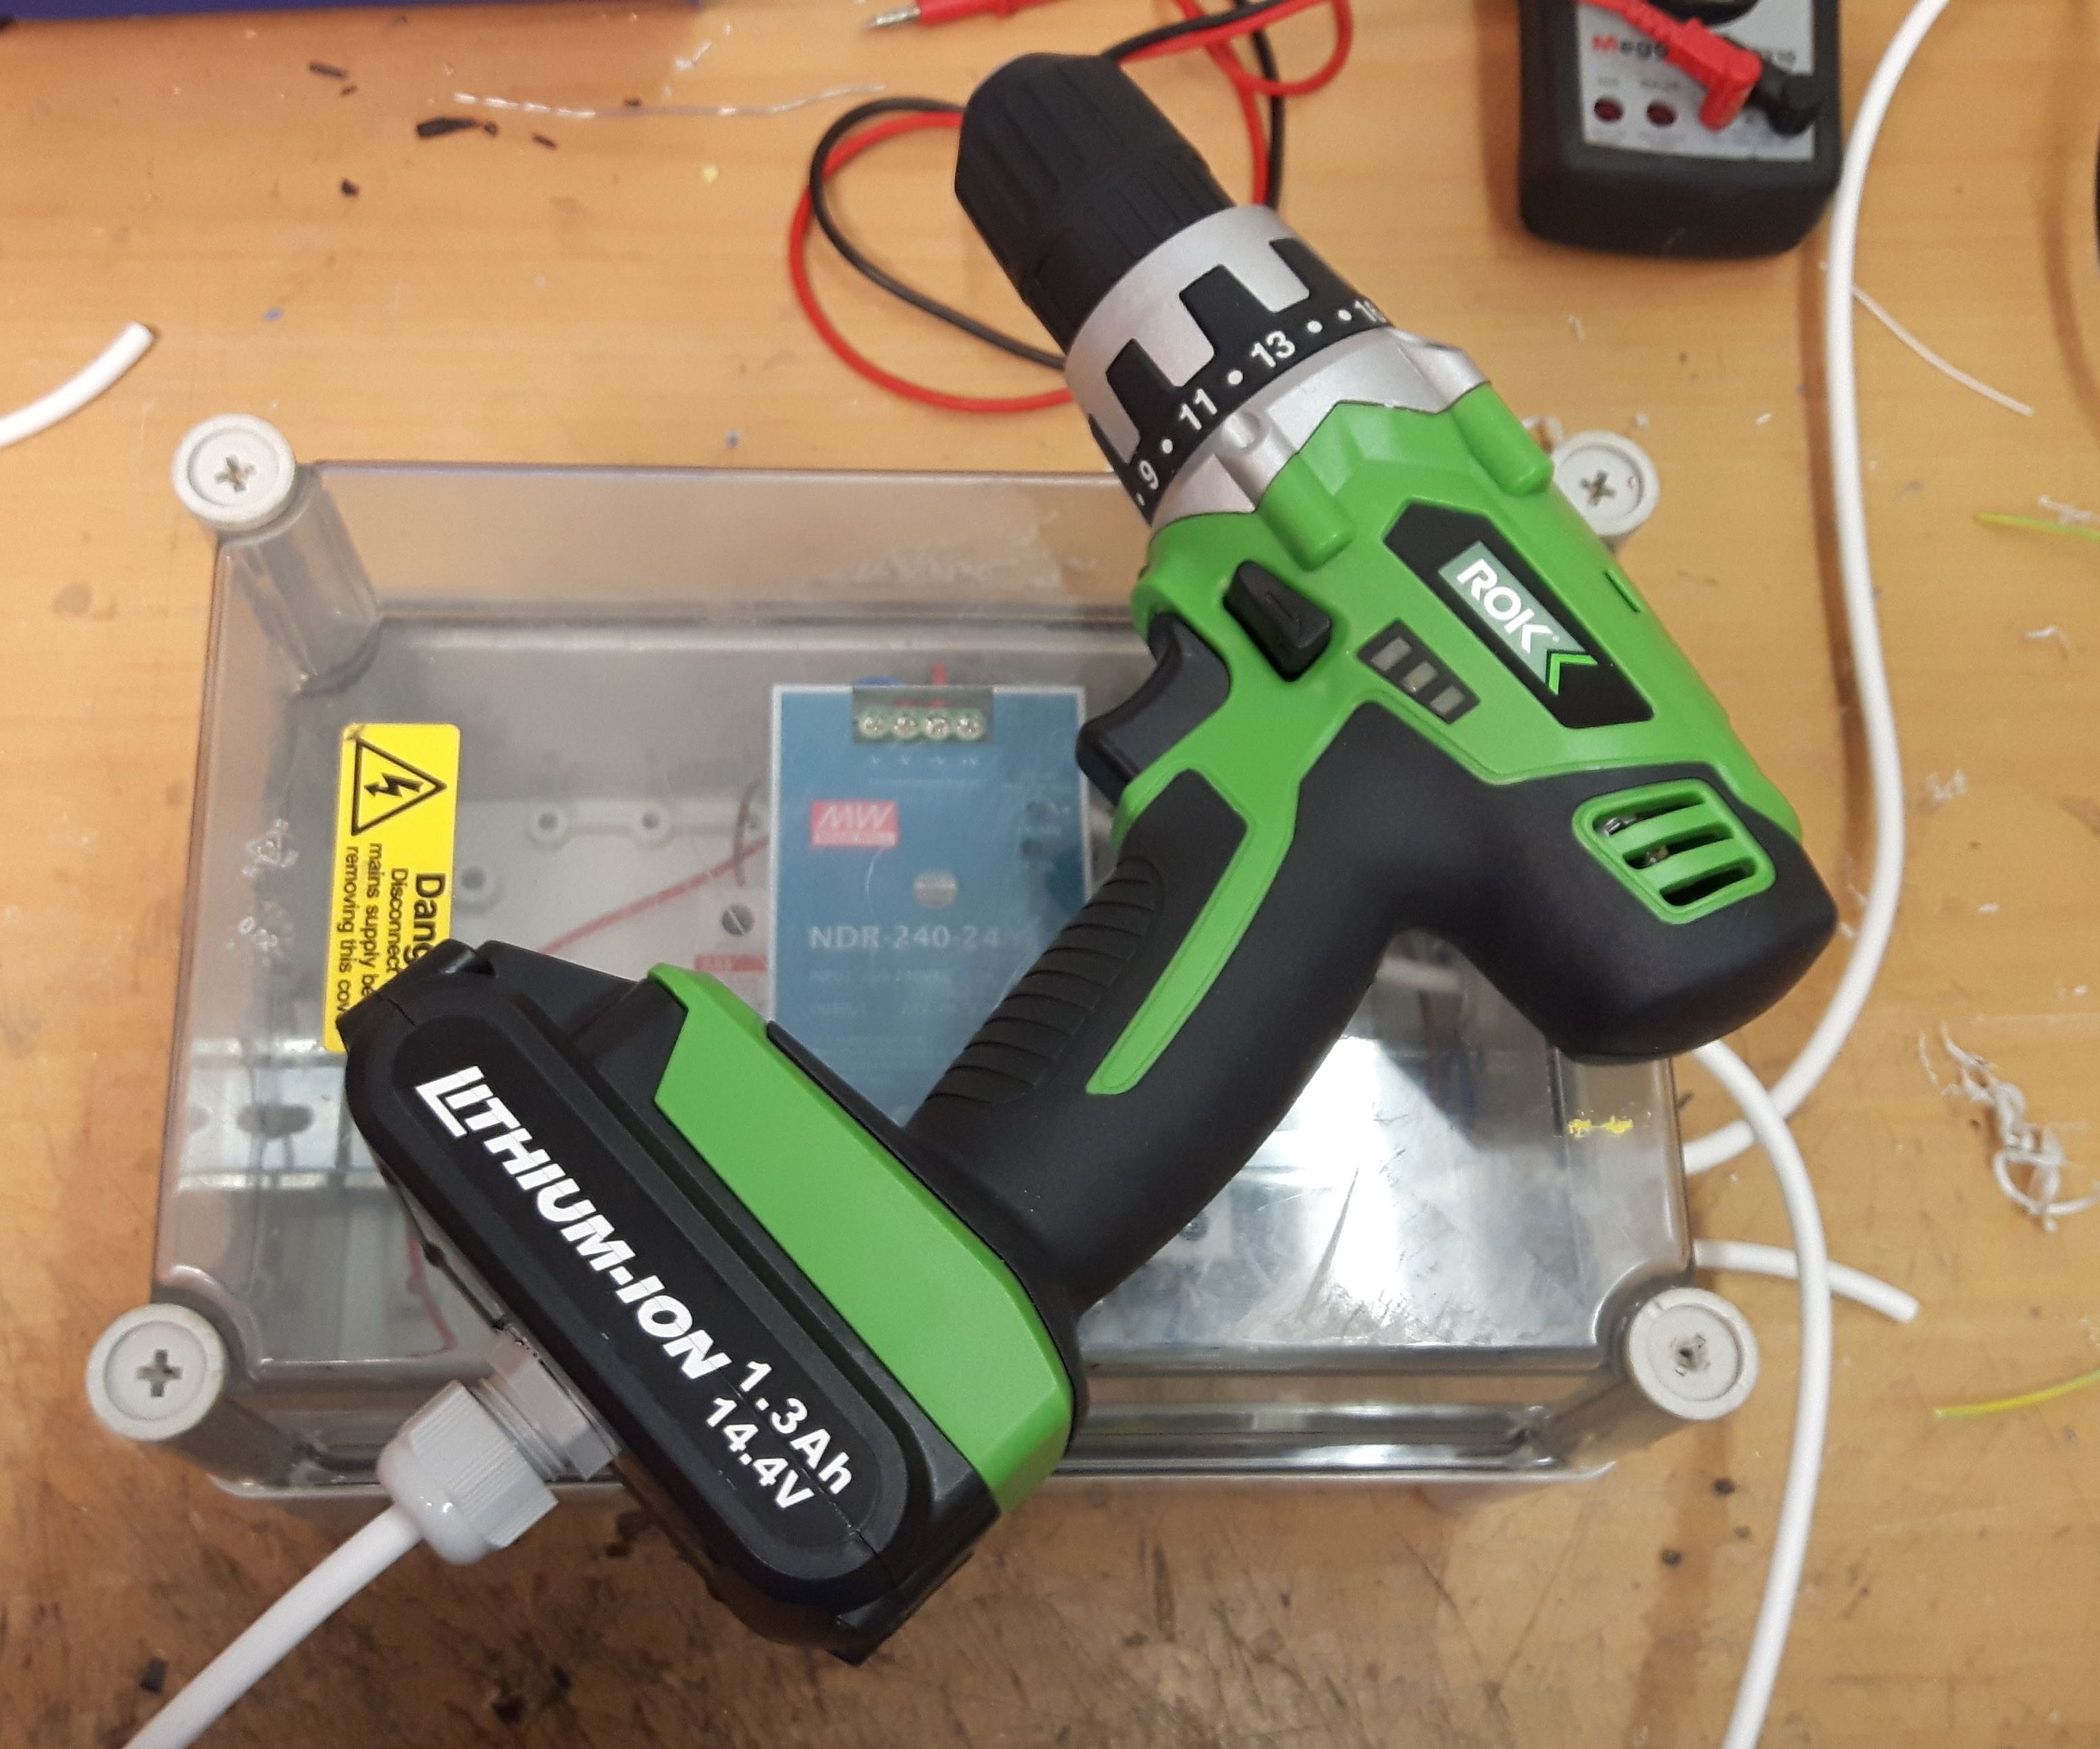
Credit: www.instructables.com
Troubleshooting Common Problems
Sometimes, things don’t go perfectly. Here’s how to fix typical issues after converting your drill.
Drill Doesn’t Turn On
- Check power supply is plugged in and switched on.
- Test voltage with a multimeter at the connector.
- Inspect all wire connections for loose or broken wires.
- Confirm polarity is correct.
Drill Runs Slowly Or Gets Hot
- Power supply may not deliver enough current. Try a supply with higher amps.
- Motor may be old or worn out—test with a different supply to confirm.
Sparks Or Strange Smell
- Immediately unplug and inspect connections.
- Check for exposed wires or incorrect insulation.
- If smell persists, motor may be damaged.
Can’t Fit Battery Casing
- Modify casing to allow wires to exit without pinching.
- Use a small drill bit to make a hole for wire passage.
Practical Tips For Long-term Use
Converting your drill is just the start. Here’s how to keep it working well.
- Label the power supply: Write the voltage and current to avoid mistakes.
- Store power supply safely: Keep cords away from water and sharp objects.
- Regularly check wires: Look for wear, cracks, or loose connections.
- Clean drill contacts: Dust and corrosion can affect performance.
- Use surge protection: Protect your power supply from voltage spikes.
Non-obvious Insight
If you want to use your drill outside, consider a portable battery bank with DC output. It’s not fully corded, but combines portability and longer runtime.
Environmental Impact
Converting a cordless drill reduces battery waste. Over 3 billion batteries are discarded each year in the US alone. By reusing your drill and avoiding new batteries, you help the environment.
Example
One converted drill saves at least 2–3 batteries over its lifetime. That’s about 1 kg of toxic waste avoided.
When Not To Convert
Conversion isn’t always the best solution. Here are times when it’s better to buy a new tool or battery.
- If the drill motor is damaged or worn out.
- If you need portability for outdoor or remote jobs.
- If you’re uncomfortable with electrical work.
- If the drill is under warranty—modification may void it.
Expert Advice: Making The Right Choice
If you use your drill mainly in one location, converting to corded is a smart move. For professionals who need portability, buying new batteries or a corded drill may be better.
Data: Tool Longevity
A converted drill can last 2–5 years longer than one powered by old batteries, depending on usage and care.
Frequently Asked Questions
What Voltage Power Supply Should I Use For My Drill?
You should use a DC power supply that matches your drill’s battery voltage. For example, if your battery is 18V, use an 18V supply. Check the current rating too—at least equal to the battery’s amp rating.
Is It Safe To Convert A Cordless Drill To Corded?
Yes, if you follow basic electrical safety rules. Use properly insulated wires, match voltage and current, and check connections. If you’re unsure, consult a professional or reference guides like Wikipedia.
Can I Switch Back To Battery After Conversion?
If you use connector plugs, you can swap between battery and corded mode. Otherwise, the drill will only work with the power supply.
What Happens If I Use The Wrong Power Supply?
Using a supply with the wrong voltage or insufficient current can damage the drill motor or make it weak. Always double-check specs before connecting.
Will Converting To Corded Affect The Drill’s Performance?
With the right power supply, performance will be similar or even better. Corded power is more stable, but poor-quality supplies can cause slowdowns or overheating.

Credit: www.youtube.com
Final Thoughts
Converting a cordless drill to a corded one is a practical way to give new life to a favorite tool. With basic tools, careful steps, and the right power supply, you can save money, avoid battery waste, and enjoy unlimited runtime.
If you follow safety advice and avoid common mistakes, your converted drill will work reliably for years. This project is not only cost-effective but also environmentally friendly. Whether you’re a DIY hobbyist or a professional, knowing how to convert your cordless drill gives you more options and greater control over your tools.
If you want stable power and don’t mind using a cord, this conversion is an excellent solution.