Turning a drill press into a milling machine is a creative way to expand your workshop without spending a lot of money. Many hobbyists and small shop owners face this challenge. Milling machines are powerful but expensive, and a drill press is common in most garages. If you understand the differences between these machines and follow the right steps, you can do light milling work with your drill press. This guide will show you how to convert a drill press into a milling machine safely and effectively, what you can and cannot do, and what to look out for along the way.
Understanding Drill Press Vs. Milling Machine
Before you start, it’s important to know how a drill press and a milling machine differ. This helps you see the strengths and weaknesses of your converted setup.
A drill press is designed for up-and-down (vertical) movement. You use it to drill holes straight into materials. The table moves up and down, but it does not move side to side with precision. The spindle (the rotating part) only moves vertically.
A milling machine, on the other hand, can move the workpiece in multiple directions (X, Y, and Z axes). It is built for side-to-side, back-and-forth, and up-and-down movement, making it ideal for cutting slots, edges, and shaping materials. The spindle and the whole machine are much stronger to handle sideways forces.
Here’s a comparison to help make the differences clear:
| Feature | Drill Press | Milling Machine |
|---|---|---|
| Movement | Vertical only | Vertical, horizontal, and depth |
| Spindle strength | Weaker (not for side loads) | Strong, supports side and end loads |
| Precision | Low to moderate | High |
| Cost | Low | High |
| Common uses | Drilling holes | Milling, drilling, shaping |
This table shows that while a drill press is simpler and cheaper, it’s not built for the sideways stresses or high precision of milling. But with the right upgrades and care, you can do basic milling jobs.
Is It Worth Converting A Drill Press?
Not everyone should convert a drill press to a milling machine. Here’s when it makes sense:
- Budget limits: You can’t afford a real milling machine.
- Space: Your workshop is small.
- Occasional use: You only need to mill small parts sometimes.
- Learning: You want to understand milling basics before buying a big machine.
But it’s not the right choice if you need:
- High accuracy (within thousandths of an inch)
- Heavy-duty cutting, especially in steel or tough metals
- Long-term, frequent milling work
If you understand these limits, converting a drill press can be a smart move for beginners and DIYers.
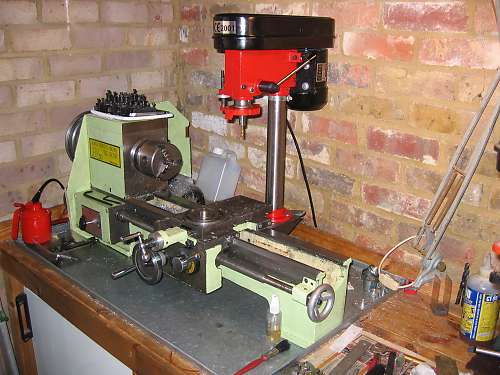
Credit: hackaday.com
What You Need For The Conversion
To convert a drill press into a mini milling machine, you need more than just a drill press. Here’s a list of what you’ll need:
- Drill Press: Choose a sturdy, bench-top or floor-standing model with a solid column.
- Cross-Slide Vise: This lets you move the workpiece side-to-side (X and Y axes) with handwheels.
- Milling Cutters: End mills or slot drills, not standard drill bits.
- Clamping Tools: T-nuts, step clamps, or a mini milling vice to hold your work securely.
- Upgraded Chuck or Collet: For better grip on milling cutters.
- Work Table: Optional, but a solid table helps keep things stable.
- Safety Gear: Safety glasses, hearing protection, and dust mask.
- Lubricant/Cutting Fluid: Prevents overheating and improves finish.
Let’s look at each item in more detail.
Drill Press Selection
A stronger, heavier drill press works better for milling. Look for:
- 1/2 horsepower (HP) or higher motor
- Thick, solid column (less flex)
- Minimal spindle play (less wobble)
- Adjustable speed (belt or variable speed models)
Cheap, lightweight drill presses may flex or wobble, giving poor results.
Cross-slide Vise
This is the heart of your conversion. A cross-slide vise lets you move the workpiece left-right and front-back with precision. Good models have graduated dials (so you know how far you move) and solid steel construction.
| Feature | Basic Cross-Slide Vise | Quality Milling Vise |
|---|---|---|
| Precision | Low | Moderate to high |
| Size | Small | Medium to large |
| Cost | Low | Higher |
| Recommended for | Light work | Better accuracy, heavier cuts |
A cheap vise works for small jobs, but if you want better results, invest in a higher-quality model.
Milling Cutters
Use end mills or slot drills. These are made for sideways cutting, unlike drill bits, which only cut vertically. Buy a few different sizes for various jobs.
Clamping Tools
Strong clamping keeps your material from moving. A loose piece can be dangerous and ruin your work. Small step clamp sets or a dedicated mini milling vice work well.
Chuck Or Collet Upgrade
Standard drill chucks may not grip milling cutters tightly, especially at high speeds. If you can, use an ER collet chuck or a high-precision drill chuck.
Table And Safety Gear
A solid table reduces vibration. Always wear safety gear—eye protection is a must, as milling throws small chips.
Step-by-step Conversion Process
Now that you have the right tools, here’s how to convert your drill press for milling.
1. Secure The Drill Press
Make sure your drill press is on a solid, steady surface. Bolt it to a heavy workbench if possible. Any movement will reduce accuracy.
2. Install The Cross-slide Vise
Attach the cross-slide vise to the drill press table. Use strong bolts. Check that it sits flat and does not move. Test the movement of the vise—make sure it slides smoothly in both X and Y directions.
3. Upgrade The Chuck
If possible, replace the drill chuck with a collet chuck or a better-quality chuck. This reduces wobble and holds the milling cutter more securely. If you can’t change the chuck, make sure it is very tight and not worn out.
4. Choose And Install The Milling Cutter
Pick the right end mill size for your job. Tighten it in the chuck or collet. Make sure at least 2/3 of the shank is held inside the chuck. Never use drill bits for milling—they are not safe for sideways cutting.
5. Clamp The Workpiece
Position your workpiece in the vise or clamp set. It should not move at all when you try to wiggle it. Double-check that the cutter will not hit the vise or clamps during the cut.
6. Adjust Speeds
Set the drill press to a slower speed—usually 500 to 1500 RPM for milling, depending on material and cutter size. Too fast, and you’ll overheat or break the cutter.
7. Apply Cutting Fluid
Use a few drops of cutting fluid on the workpiece and cutter. This keeps them cool and improves the finish.
8. Start Milling
Lower the spindle gently until the cutter touches the work. Lock the quill if possible (some drill presses have a lock for the vertical movement). Use the cross-slide vise to feed the workpiece slowly against the cutter. Take very shallow cuts—no more than 0.5 mm (0.020 inch) deep per pass for most drill presses.
9. Monitor And Repeat
Watch for vibration, noise, or signs of stress. If you hear strange sounds, stop and check everything. Make several shallow passes, moving the vise a little each time, until you finish the job.
10. Clean Up
When done, turn off the drill press, remove chips, and clean the cutter and vise. Wipe down with a little oil to prevent rust.
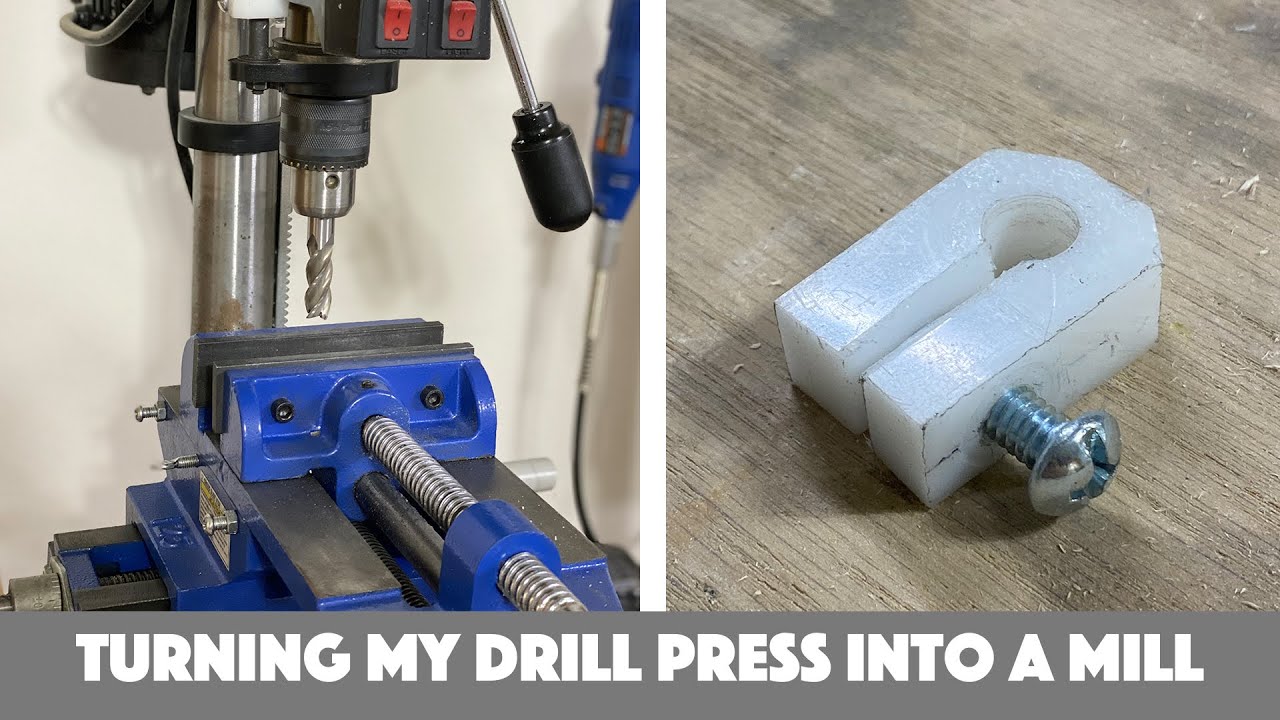
Credit: www.youtube.com
Important Safety And Limitations
Converting a drill press for milling is never as safe or strong as using a real milling machine. Keep these safety tips and limitations in mind:
- Never try deep cuts—the drill press is not made for heavy side loads.
- Do not mill hard steel—stick with aluminum, plastic, or soft brass.
- Check for spindle play—if the spindle wobbles, stop and fix it.
- Always use safety glasses—flying chips can cause serious injury.
- Don’t force the work—let the cutter do the job slowly.
- Never leave the machine running unattended.
Many beginners forget that a drill press can easily be damaged if pushed too hard. The gears, spindle, and bearings are not designed for heavy side loads. If you hear the motor struggling or see the cutter bending, you are taking too deep a cut.
Milling Operations You Can And Cannot Do
With a converted drill press, you can do simple milling jobs, but not everything. Here are some examples:
You can:
- Mill shallow slots in aluminum or plastic
- Face off small surfaces (make them flat)
- Cut keyways in soft materials
- Drill, then lightly shape holes
You cannot safely:
- Cut deep slots in steel
- Mill large areas or do heavy-duty facing
- Use large-diameter cutters
- Achieve high precision on tough jobs
Here’s a quick comparison of suitable and unsuitable operations:
| Material | Can Mill? | Notes |
|---|---|---|
| Aluminum | Yes | Shallow cuts only |
| Plastic | Yes | Easy to cut, low stress |
| Brass | Yes | Light passes recommended |
| Mild Steel | Not recommended | Only very shallow, slow cuts |
| Hardened Steel | No | Will damage drill press |
Two Insights Beginners Often Miss
- Spindle Bearings Matter: Most drill press bearings are designed for vertical loads, not side loads. If you plan to do more milling, consider upgrading the spindle bearings. Stronger bearings will last longer and give better results.
- Vibration Is the Enemy: Even small vibrations can cause poor milling, tool breakage, or damaged parts. Always check that every bolt is tight, the vise is secure, and the table is solid. Adding weight (like sandbags) to the drill press base can help reduce vibration.
Practical Tips For Better Results
- Take small cuts: Don’t rush. Shallow passes give a smoother finish and protect your machine.
- Use sharp cutters: Dull end mills can grab or chatter.
- Keep everything clean: Chips and dust cause problems. Brush away chips after each pass.
- Mark your zero point: Use a marker or scribe so you know where to start and stop.
- Check alignment often: A misaligned cutter can ruin your part.
- Try test cuts on scrap: Always practice on waste material before working on your real part.
When To Upgrade To A Real Milling Machine
If you find yourself needing to mill more often, or if your parts are getting bigger or need higher accuracy, it’s time to upgrade. Real milling machines are built for side loads and heavy use. They have stronger motors, better spindles, and more precise movements.
Signs you need to upgrade:
- The drill press vibrates or flexes during use
- The finish quality is poor, even with small cuts
- You need to work with steel or harder materials
- Your parts need tight tolerances (less than 0.1 mm or 0.004 inch)
A real milling machine is a serious investment, but it opens up many more possibilities. For small, light jobs, however, your converted drill press can serve you well.
Real-world Example
Tom, a home machinist, wanted to cut small aluminum slots for his model airplane parts. He converted his old bench drill press using a $50 cross-slide vise and a set of end mills. By taking shallow cuts and keeping everything tight, he was able to make parts with 0.
1 mm (0. 004 inch) accuracy—good enough for his needs. When he tried mild steel, however, his drill press vibrated and the cutter dulled quickly. He learned that for harder jobs, a real milling machine would be necessary.
This kind of experience is common among hobbyists. You can do a lot with a converted drill press, but knowing the limits is key.
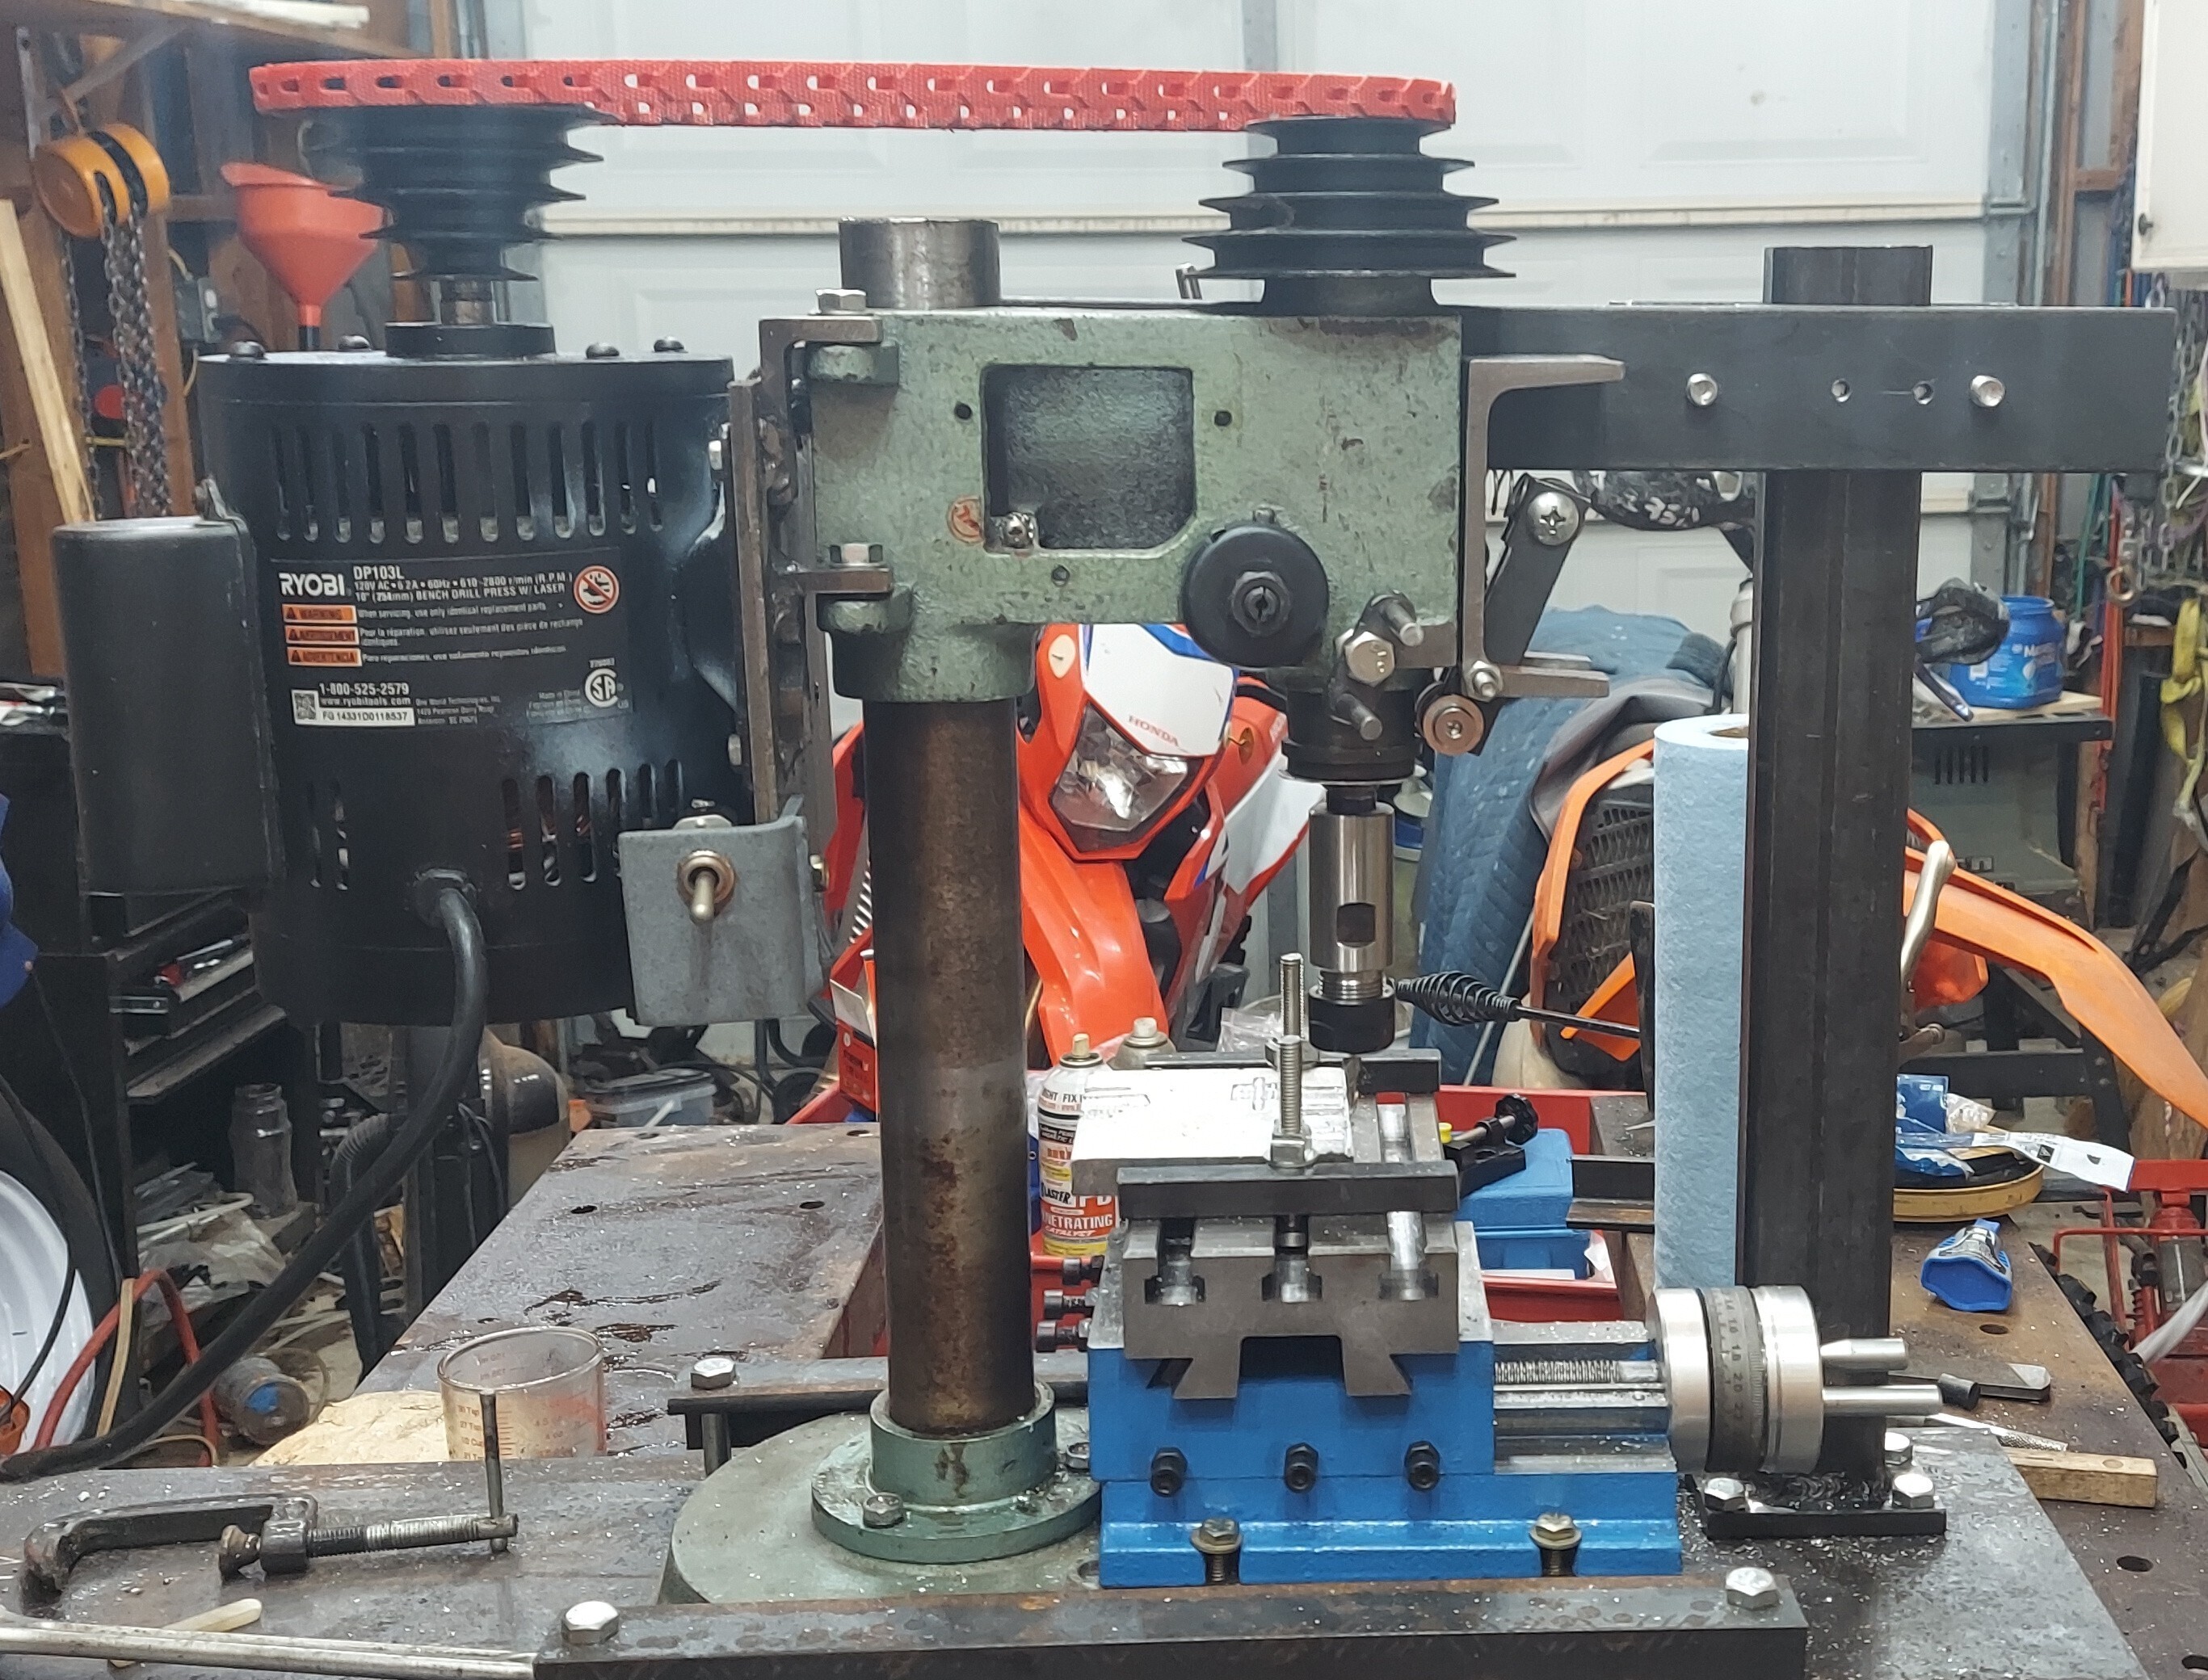
Credit: www.hydrogen18.com
Further Reading And Resources
For more technical details and advanced tips on converting drill presses or selecting the right equipment, visit the Wikipedia Milling Machine page.
Frequently Asked Questions
What Is The Main Risk Of Using A Drill Press As A Milling Machine?
The biggest risk is side load on the spindle. Drill presses are not built for sideways cutting forces, which can cause the spindle or bearings to wear out quickly or even break. Always use shallow cuts and avoid hard materials.
Can I Mill Steel With A Converted Drill Press?
It is not recommended. While you can try very shallow cuts in mild steel, most drill presses will vibrate, flex, or even get damaged. Stick to softer materials like aluminum or plastic.
What Kind Of Vise Should I Use For Milling On A Drill Press?
Use a cross-slide vise made for milling. It should have smooth movement, a solid base, and tight tolerances. Cheap vises may introduce play and reduce accuracy.
How Deep Can I Mill In One Pass?
For most drill presses, keep each cut under 0.5 mm (0.020 inch) deep. Deeper cuts increase the chance of vibration, tool breakage, or damaging the machine.
Is It Possible To Get High Precision With This Setup?
You can get good but not great precision—enough for many hobby or repair jobs. For very high accuracy (within thousandths of an inch), a true milling machine is required.
Converting a drill press into a milling machine opens up new possibilities for home machinists and DIYers. While it has limits, with the right tools, careful setup, and respect for those limits, you can do a surprising amount of work.
Always put safety first, take your time, and enjoy the satisfaction of making your own parts.