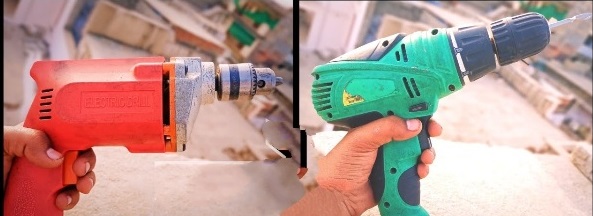
Using a drill as a screwdriver can be a convenient and efficient way to complete a wide range of tasks around the home or in the workshop. Whether you need to attach screws to a piece of wood or install new hardware, a drill can make the process much quicker and easier.
However, using a drill as a screwdriver is not as simple as turning it on and screwing in a screw. You need to follow a few steps to ensure you get the best results and prevent any damage to the drill, the screw, or the workpiece.
In this article, I will provide a comprehensive guide on how to use drill as a screwdriver. So let’s start!
How to Use Drill As a Screwdriver: Step By Step Guideline

Here are the step-by-step guidelines for you to help make using a drill as a screwdriver safe and easy:
Step 1: Select the Right Drill Bit
The first and most crucial step to using a drill as a screwdriver is to select the right drill bit. A drill bit is part of the drill responsible for making the hole or driving the screw.
Several different drill bits can be used for screw driving, including Phillips, slotted, Torx, and square drive bits. The type of drill bit you need will depend on the type of screw you are using.
You should consult the screw’s packaging or specifications to determine the correct drill bit size. You can also compare the screw to the drill bit to ensure it fits snugly into the screw’s head.
Step 2: Adjust the Clutch
The clutch on a drill is responsible for controlling the torque, or twisting force, applied to the screw. When using a drill as a screwdriver, it is essential to adjust the clutch to the right setting.
Besides, it will ensure that the screw is driven to the correct depth without stripping or damaging the screw head. To adjust the clutch, turn the collar at the base of the drill until the clasp clicks. With lower numbers representing lower torque and higher numbers representing higher torque.
Step 3: Secure the Workpiece
Before you begin to drill, it is essential to secure the workpiece to prevent it from moving or shifting. It will help to ensure that the screw is driven straight and to the correct depth.
You can use several methods to secure the workpiece, including clamping it to a workbench using a vice. You can also change another way when holding it in place with your other hand.
Step 4: Start the Drill
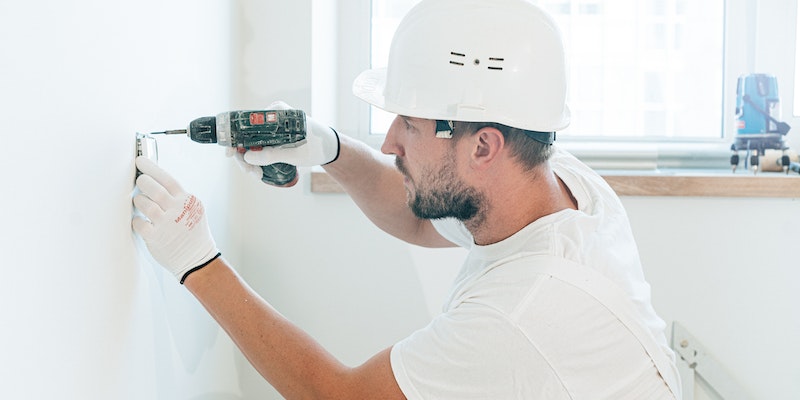
Once the workpiece is secured, and the clutch is adjusted, you can begin to drill the screw. To do this, place the drill bit into the screw head and hold the drill steady. Then, apply gentle pressure to start the drill and drive the screw into the workpiece.
It is important to apply consistent pressure and not over-tighten the screw. Over-tightening can cause the screw to strip or break or damage the workpiece. However, for more complicated wood or thicker metal sheets, you may need to pre-drill a pilot hole.
To pre-drill, a pilot hole, use a drill bit slightly smaller than the screw you are using. It will create a guide for the screw, making it easier to drive and reducing the risk of damage.
Step 5: Reverse the Drill to Remove the Screws
Reversing the drill is the easiest way to remove screws. All you need to do is change the direction of the drill to unscrew the screw.
When removing screws, it is important to use a low clutch setting to prevent stripping the screw head or damaging the workpiece.
Step 6: Clean and Maintain the Drill
After using your drill as a screwdriver, cleaning and maintaining it properly is vital to ensure its longevity. To clean the drill, wipe it down with a clean cloth to remove debris or sawdust.
To maintain your drill, make sure to oil the gears and motor periodically, replace any worn or damaged drill bits and store the drill in a dry and secure place when not in use. Regular maintenance and cleaning will help prolong your drill bit’s life.
Safety Considerations For Using Drill Bit as A Screwdriver?

When using a drill as a screwdriver, it is important to follow basic safety guidelines to prevent injury or damage. Here are some essential safety tips for you to keep in mind:
- Always you should wear eye protection when using a drill.
- Ensure the drill is unplugged or the battery is removed before changing drill bits or adjusting the clutch.
- Keep the drill and the workpiece stable and secure to prevent slipping or shifting.
- Use caution when reversing the drill to remove screws to avoid stripping or damaging the screw or the workpiece.
- Keep the drill cord out of the way to prevent tripping from preventing electrical shock.
FAQs
How do you use a drill driver as a screwdriver?
Select the rotation adjuster to damage the screw counterclockwise. Insert the drill into the screw juncture, and then start the drill. It will reverse the screw out of the hole.
How do you remove a screw with a drill?
Continue tightening screws or drilling a hole forward and adrenaline up to now, turn left to keep your working area cool, and ultimately toggle to reverse when using a screwdriver to prevent unpleasant substances from falling inside your glove.
How do you use a drill to put in a screw?
Impact drivers generally direct staff members to spearhead a task quickly, precisely, and consistently. Drills, also known as drill drivers, enable staff members to drive screws, but not as well as impact drivers. Drills are a better option for boring holes.
What drill bit do you use for screws?
Fasteners should have a bit that fits the diameter and diameter of the thread, not the thread’s length. Contractor bits should be slightly smaller than the shank, depending on the size of the bit. Know what drill bit type your drill uses so you can buy bits with the appropriate shank size.
Final Words
Using a drill as a screwdriver is a quick and convenient way to complete various tasks at home or in the workshop. So, before you grab your drill as screws, consider the type of screwdriver most effective for the job. By choosing the right tool for the task, you can ensure that you get the best results, reduce the risk of injury, and protect your equipment. My simple steps ensure that your drill is always ready to help you get the job done right.