Using a Black and Decker 12V drill can make your DIY projects easier. This tool is perfect for both beginners and experts.
The Black and Decker 12V drill is a versatile and compact tool. It helps with various tasks like drilling holes and driving screws. Whether you are hanging pictures or assembling furniture, this drill is your go-to tool. Its lightweight design makes it easy to handle, reducing fatigue during long tasks.
In this guide, we will explain how to use the Black and Decker 12V drill effectively. You’ll learn about its features, safety tips, and best practices. With this information, you can handle your projects confidently and safely. Let’s get started on making your DIY tasks simpler and more efficient.
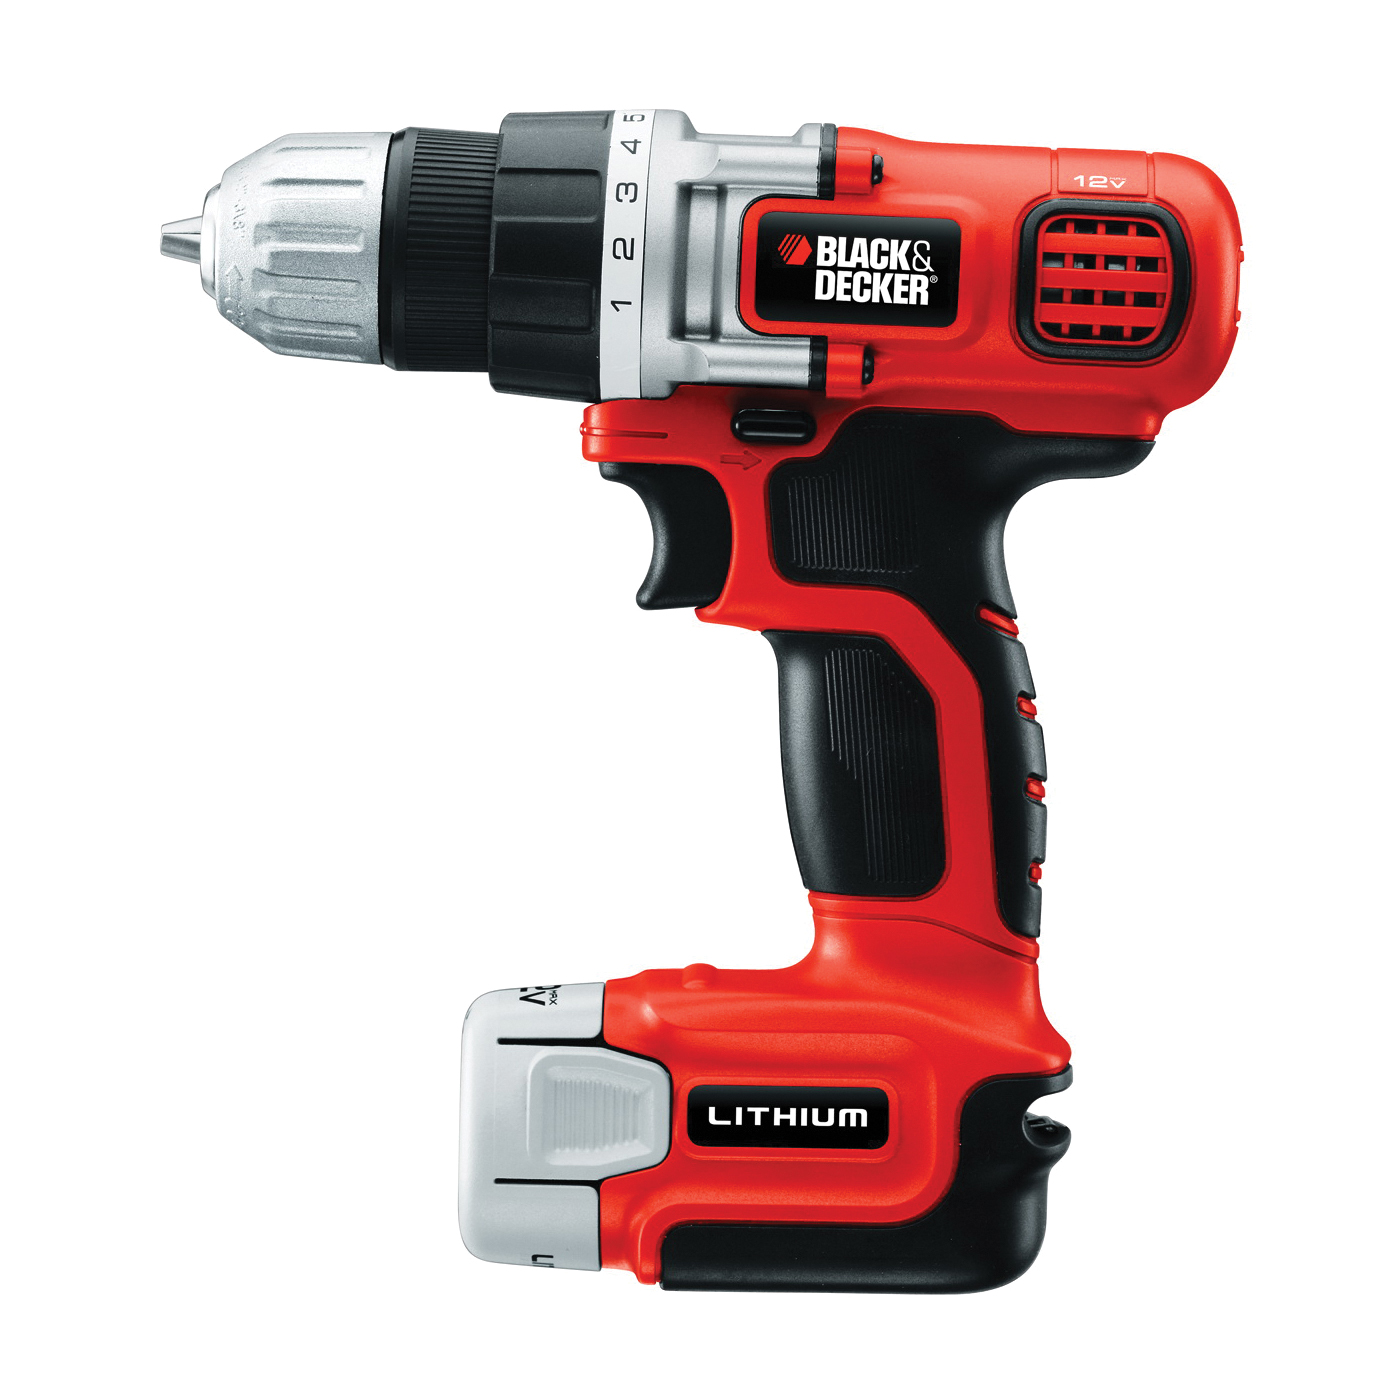
Credit: www.mclendons.com
Article Summary
Introduction To Black And Decker Drill 12v
Learn how to use the Black And Decker Drill 12V. Discover tips for safe operation and efficient drilling. Perfect for DIY projects and home repairs.
The Black And Decker Drill 12V is a versatile tool. It’s perfect for home projects and light construction. This drill is user-friendly and reliable. It offers excellent performance for its size and power. Its compact design makes it easy to handle. You can use it in tight spaces with ease. The 12V battery provides enough power for most tasks. It’s a great choice for both beginners and experienced users.Key Features
The Black And Decker Drill 12V comes with many features. It has a variable speed setting. This allows better control during drilling. The drill also includes a keyless chuck. This feature makes changing bits quick and easy. The ergonomic handle adds comfort during use. It’s designed to reduce fatigue. The drill also has a built-in LED light. This helps illuminate dark work areas. The battery is rechargeable, which adds convenience.Benefits Of Using
Using the Black And Decker Drill 12V has many benefits. Its lightweight design reduces strain on your wrist. This makes it ideal for extended use. The variable speed setting allows precise drilling. You can adjust the speed for different materials. The keyless chuck makes bit changes fast. This saves time during your projects. The built-in LED light improves visibility. You can work in dimly lit areas without trouble. The rechargeable battery means no need for constant replacements. This is cost-effective and eco-friendly. Overall, this drill is a practical choice. It meets the needs of most DIY enthusiasts and light construction workers. “`Getting Started
So, you’ve got yourself a brand new Black And Decker Drill 12V, and you’re eager to get started. Drills are incredibly handy tools, perfect for a range of tasks from simple home repairs to complex DIY projects. But if you’re new to using a drill, don’t worry. We’ll walk you through everything you need to know to get started with your Black And Decker Drill 12V.
Unboxing Your Drill
First things first, let’s unbox that drill. Opening the box is like opening a treasure chest filled with possibilities! Here’s what you should find inside:
- The Drill: Of course, the star of the show.
- Battery Pack: This is what powers your drill. It’s usually a 12V rechargeable battery.
- Charger: To keep that battery juiced up.
- Drill Bits: Sometimes included, these are what you’ll actually use to drill holes.
- User Manual: Don’t ignore this. It’s a goldmine of information.
Make sure you have all these items. If anything is missing, contact the seller or manufacturer. Now, let’s move on to understanding the parts of your drill.
Understanding The Parts
Before you start drilling holes, it’s important to understand the different parts of your drill. Here’s a quick rundown:
| Part | Description |
|---|---|
| Chuck | The chuck is the part that holds the drill bit. It’s usually adjustable, allowing you to fit different sizes of bits. |
| Trigger | The trigger is what you press to start drilling. The harder you press, the faster the drill spins. |
| Battery Pack | This is the power source of your drill. Make sure it’s charged before you start. |
| Forward/Reverse Switch | This switch changes the direction of the drill’s rotation. Use forward to drill into materials and reverse to remove the drill bit. |
| Torque Settings | These settings control the amount of force the drill uses. Higher settings are for tougher materials. |
Knowing these parts will help you use your drill more effectively and safely. With this knowledge under your belt, you’re ready to start drilling!
Stay tuned for the next sections where we dive into charging your battery and choosing the right drill bits. Remember, practice makes perfect. Happy drilling!
Battery Setup
Understanding how to properly handle the battery setup for your Black And Decker Drill 12V is crucial for ensuring it operates effectively and safely. In this section, we will walk you through the steps of charging and installing the battery. By the end, you’ll be ready to tackle your next DIY project with confidence and ease.
Charging The Battery
Before you can start using your drill, the first step is to charge the battery. Here’s a simple guide to get you started:
- Locate the Charger: Find the charger that came with your Black And Decker Drill 12V. It usually consists of a plug adapter and a cable.
- Connect the Battery: Insert the battery into the charger. Make sure it clicks into place securely.
- Plug in the Charger: Plug the charger into a wall outlet. You should see a light indicator that shows the battery is charging.
- Wait for Full Charge: Allow the battery to charge fully. This can take a few hours. Once the light indicator changes color or turns off, the battery is ready to use.
Pro Tip: It’s always a good idea to have a spare battery charged and ready to go, so you don’t have to wait in between projects.
Installing The Battery
Now that your battery is charged, it’s time to install it into your drill. Follow these simple steps:
- Remove the Battery from the Charger: Carefully take the battery out of the charger. Hold it firmly to avoid dropping it.
- Align the Battery: Position the battery at the base of the drill. You’ll see grooves that match the battery shape.
- Insert the Battery: Slide the battery into the drill until it clicks into place. You should feel a slight resistance before it locks securely.
- Check the Fit: Give the battery a gentle tug to ensure it’s firmly attached. It should not move or come loose.
Quick Tip: Regularly check the battery connection to make sure it stays secure, especially during extended use.
And there you have it! With your battery charged and installed, you’re now ready to put your Black And Decker Drill 12V to work. Happy drilling!
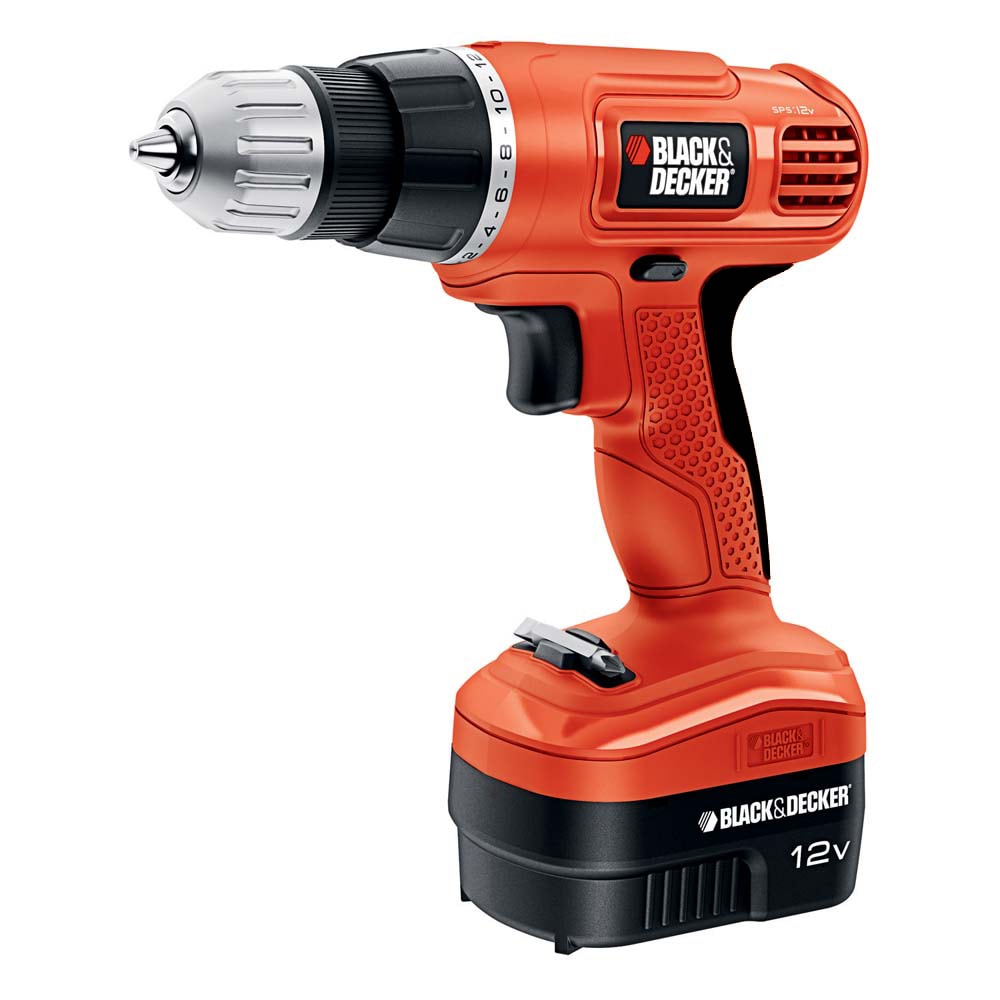
Credit: www.lowes.com
Basic Operation
When it comes to using the Black and Decker Drill 12V, understanding the basic operation is key. This reliable tool can be a game-changer for your DIY projects, but only if you know how to handle it properly. In this section, we’ll walk you through the essential steps, ensuring you feel confident and ready to tackle any task.
Powering On And Off
First things first, you need to know how to power your drill on and off. It’s simple, but crucial. Here’s how:
- Power On: Insert the battery into the base of the drill until it clicks. Press the trigger gently to start the drill. If it doesn’t start, ensure the battery is charged.
- Power Off: Release the trigger to stop the drill. To conserve battery, remove it from the drill when not in use by pressing the release buttons on the sides and sliding it out.
Adjusting The Speed
Adjusting the speed is essential for different tasks. Whether you’re drilling into wood or metal, you need the right speed. Here’s how to do it:
- Check the Speed Setting: Your drill has a variable speed trigger. The harder you press, the faster it goes. Start slow to get a feel for it.
- Use the Speed Selector: Some models come with a speed selector switch. This is usually located on top of the drill. Slide it to the desired speed setting.
- Practice: Before starting your project, practice on a scrap piece of material. Get comfortable with adjusting the speed according to the task.
And there you have it! Mastering these basic operations can make a world of difference. Remember, practice makes perfect. Soon enough, you’ll be drilling like a pro. Ready to get started? Let’s dive into the next section!
Drilling Techniques
Using a Black And Decker Drill 12V can seem daunting, especially for beginners. But with the right techniques, you can achieve precise and clean results. This guide will walk you through essential drilling techniques to help you get started and ensure effective use of your drill.
Choosing The Right Drill Bit
Selecting the correct drill bit is crucial for successful drilling. Drill bits come in various sizes and materials. For wood, use a wood drill bit. For metal, use a metal drill bit. For masonry, opt for a masonry bit. Ensure the bit is sharp. A dull bit can cause damage and make drilling harder.
Proper Drilling Technique
First, mark the spot where you want to drill. This helps in guiding the bit. Hold the drill firmly with both hands. Align the bit with the marked spot. Start drilling at a low speed. This prevents the bit from slipping. Gradually increase the speed as the bit penetrates the material. Apply steady pressure. Do not force the drill. Let the bit do the work. After drilling, reverse the drill to remove the bit smoothly.
Maintenance Tips
Keeping your Black And Decker Drill 12V in top shape ensures it works well and lasts a long time. By following a few simple maintenance tips, you can extend the life of your drill and make sure it performs its best every time you use it. Let’s dive into the details.
Cleaning The Drill
Regular cleaning is essential for maintaining your drill. Here’s how you can keep it clean:
- Unplug the Drill: Always disconnect the drill from the power source before cleaning.
- Wipe Down the Exterior: Use a soft, dry cloth to wipe down the drill’s exterior. For stubborn dirt, a damp cloth can be used.
- Clean the Vents: Dust and debris can clog the air vents. Use a small brush or compressed air to clean these areas.
- Check the Chuck: Open the chuck and remove any debris that may have accumulated. This ensures smooth operation.
Remember, a clean drill is a happy drill. It’s like giving your drill a spa day!
Storing The Drill
Proper storage is another key aspect of maintaining your drill. Here are some tips on how to store it correctly:
- Keep it Dry: Store your drill in a dry place to avoid rust and corrosion. Moisture is the enemy of any power tool.
- Use the Case: If your drill came with a storage case, use it. The case protects the drill from dust and accidental damage.
- Avoid Extreme Temperatures: Don’t store your drill in extremely hot or cold environments. This can damage the battery and other components.
- Store with Care: Make sure the drill is securely placed in a position where it won’t fall or get knocked over.
By storing your drill properly, you ensure it’s always ready to go when you need it.
Safety Precautions
Before you start using your Black And Decker Drill 12V, it’s important to know how to do it safely. Using any power tool can be risky if you don’t follow the right precautions. Let’s dive into some essential safety tips to keep you safe while drilling.
Wearing Safety Gear
First things first, always wear safety gear. This isn’t just a good idea; it’s a must. Here’s what you need:
- Safety glasses: Protect your eyes from flying debris.
- Gloves: Keep your hands safe from cuts and bruises.
- Ear protection: Drills can be loud; protect your hearing.
- Dust mask: Prevent inhaling dust, especially if you’re drilling into wood or concrete.
Trust me, you don’t want to find out the hard way how painful a flying piece of wood can be. I once skipped wearing gloves, and let’s just say, it wasn’t pretty!
Handling The Drill Safely
Now that you’re geared up, let’s talk about handling the drill itself. Here are some simple but crucial tips:
- Read the manual: Yes, it’s boring, but it’s full of important info about your specific drill model.
- Check the drill bit: Ensure it’s tightly secured before you start. A loose bit can cause accidents.
- Keep a firm grip: Hold the drill with both hands to keep control and avoid slips.
- Watch your speed: Start slow and increase speed gradually. This helps prevent mistakes and injuries.
- Unplug or remove the battery when not in use: This prevents accidental starts.
Remember, handling the drill safely isn’t just about protecting yourself. It’s also about getting the job done right. A little caution goes a long way in ensuring both safety and success.
Advanced Tips And Tricks
The Black and Decker Drill 12V is a versatile tool. With a few advanced tips and tricks, you can use it like a pro. This guide will help you make the most out of your drill. From using attachments to avoiding common mistakes, we have you covered.
Using Attachments
The Black and Decker Drill 12V can work with many attachments. Each attachment serves a different purpose. A drill bit is perfect for making holes. A screwdriver bit can help with assembling furniture.
Always choose the right attachment for your task. This will make your work easier. Remember to secure the attachment properly. A loose attachment can lead to mistakes.
Use a keyless chuck for quick changes. This allows you to switch attachments fast. It saves time and effort. Keep your attachments clean and sharp. This ensures efficient performance.
Common Mistakes To Avoid
Many users make simple mistakes with their drill. These mistakes can cause damage or poor results. Avoiding them can improve your work quality.
One common mistake is using the wrong speed setting. High speed is not always better. For drilling into wood, use a lower speed. For metal, a higher speed works best.
Another mistake is not applying enough pressure. Too much pressure can damage the material. Too little pressure can make the drill slip. Apply steady, even pressure for best results.
Not charging the battery fully is another common error. An undercharged battery reduces performance. Always start with a fully charged battery. This ensures consistent power throughout your task.
Troubleshooting
Even the best tools can sometimes act up. If you’re having issues with your Black And Decker Drill 12V, don’t worry! Troubleshooting can help you get it back in action. Let’s look at some common problems and how to fix them.
Battery Issues
One of the most common problems with cordless drills is the battery. If your drill won’t start, the battery might be the culprit.
- Check the Connections: Ensure the battery is properly connected. Sometimes it can be loose.
- Charge the Battery: Plug the battery into the charger. A fully charged battery can make all the difference.
- Battery Age: If your battery is old, it might not hold a charge. Consider replacing it with a new one.
Remember, a healthy battery is key to your drill’s performance. Keep it charged and handle it with care!
Drill Performance Problems
Is your drill not performing as it should? Here are some common performance issues and how to address them:
- Check the Chuck: Ensure the bit is secure in the chuck. A loose bit can lead to poor performance.
- Inspect the Bit: Sometimes, the problem is with the bit, not the drill. Make sure it’s sharp and undamaged.
- Speed Settings: Adjust the speed settings on your drill. Different tasks require different speeds.
These simple checks can often resolve performance issues. If problems persist, it might be time to consult the manual or contact customer support.
In conclusion, troubleshooting your Black And Decker Drill 12V doesn’t have to be daunting. With a few simple steps, you can keep your drill running smoothly and efficiently. Happy drilling!
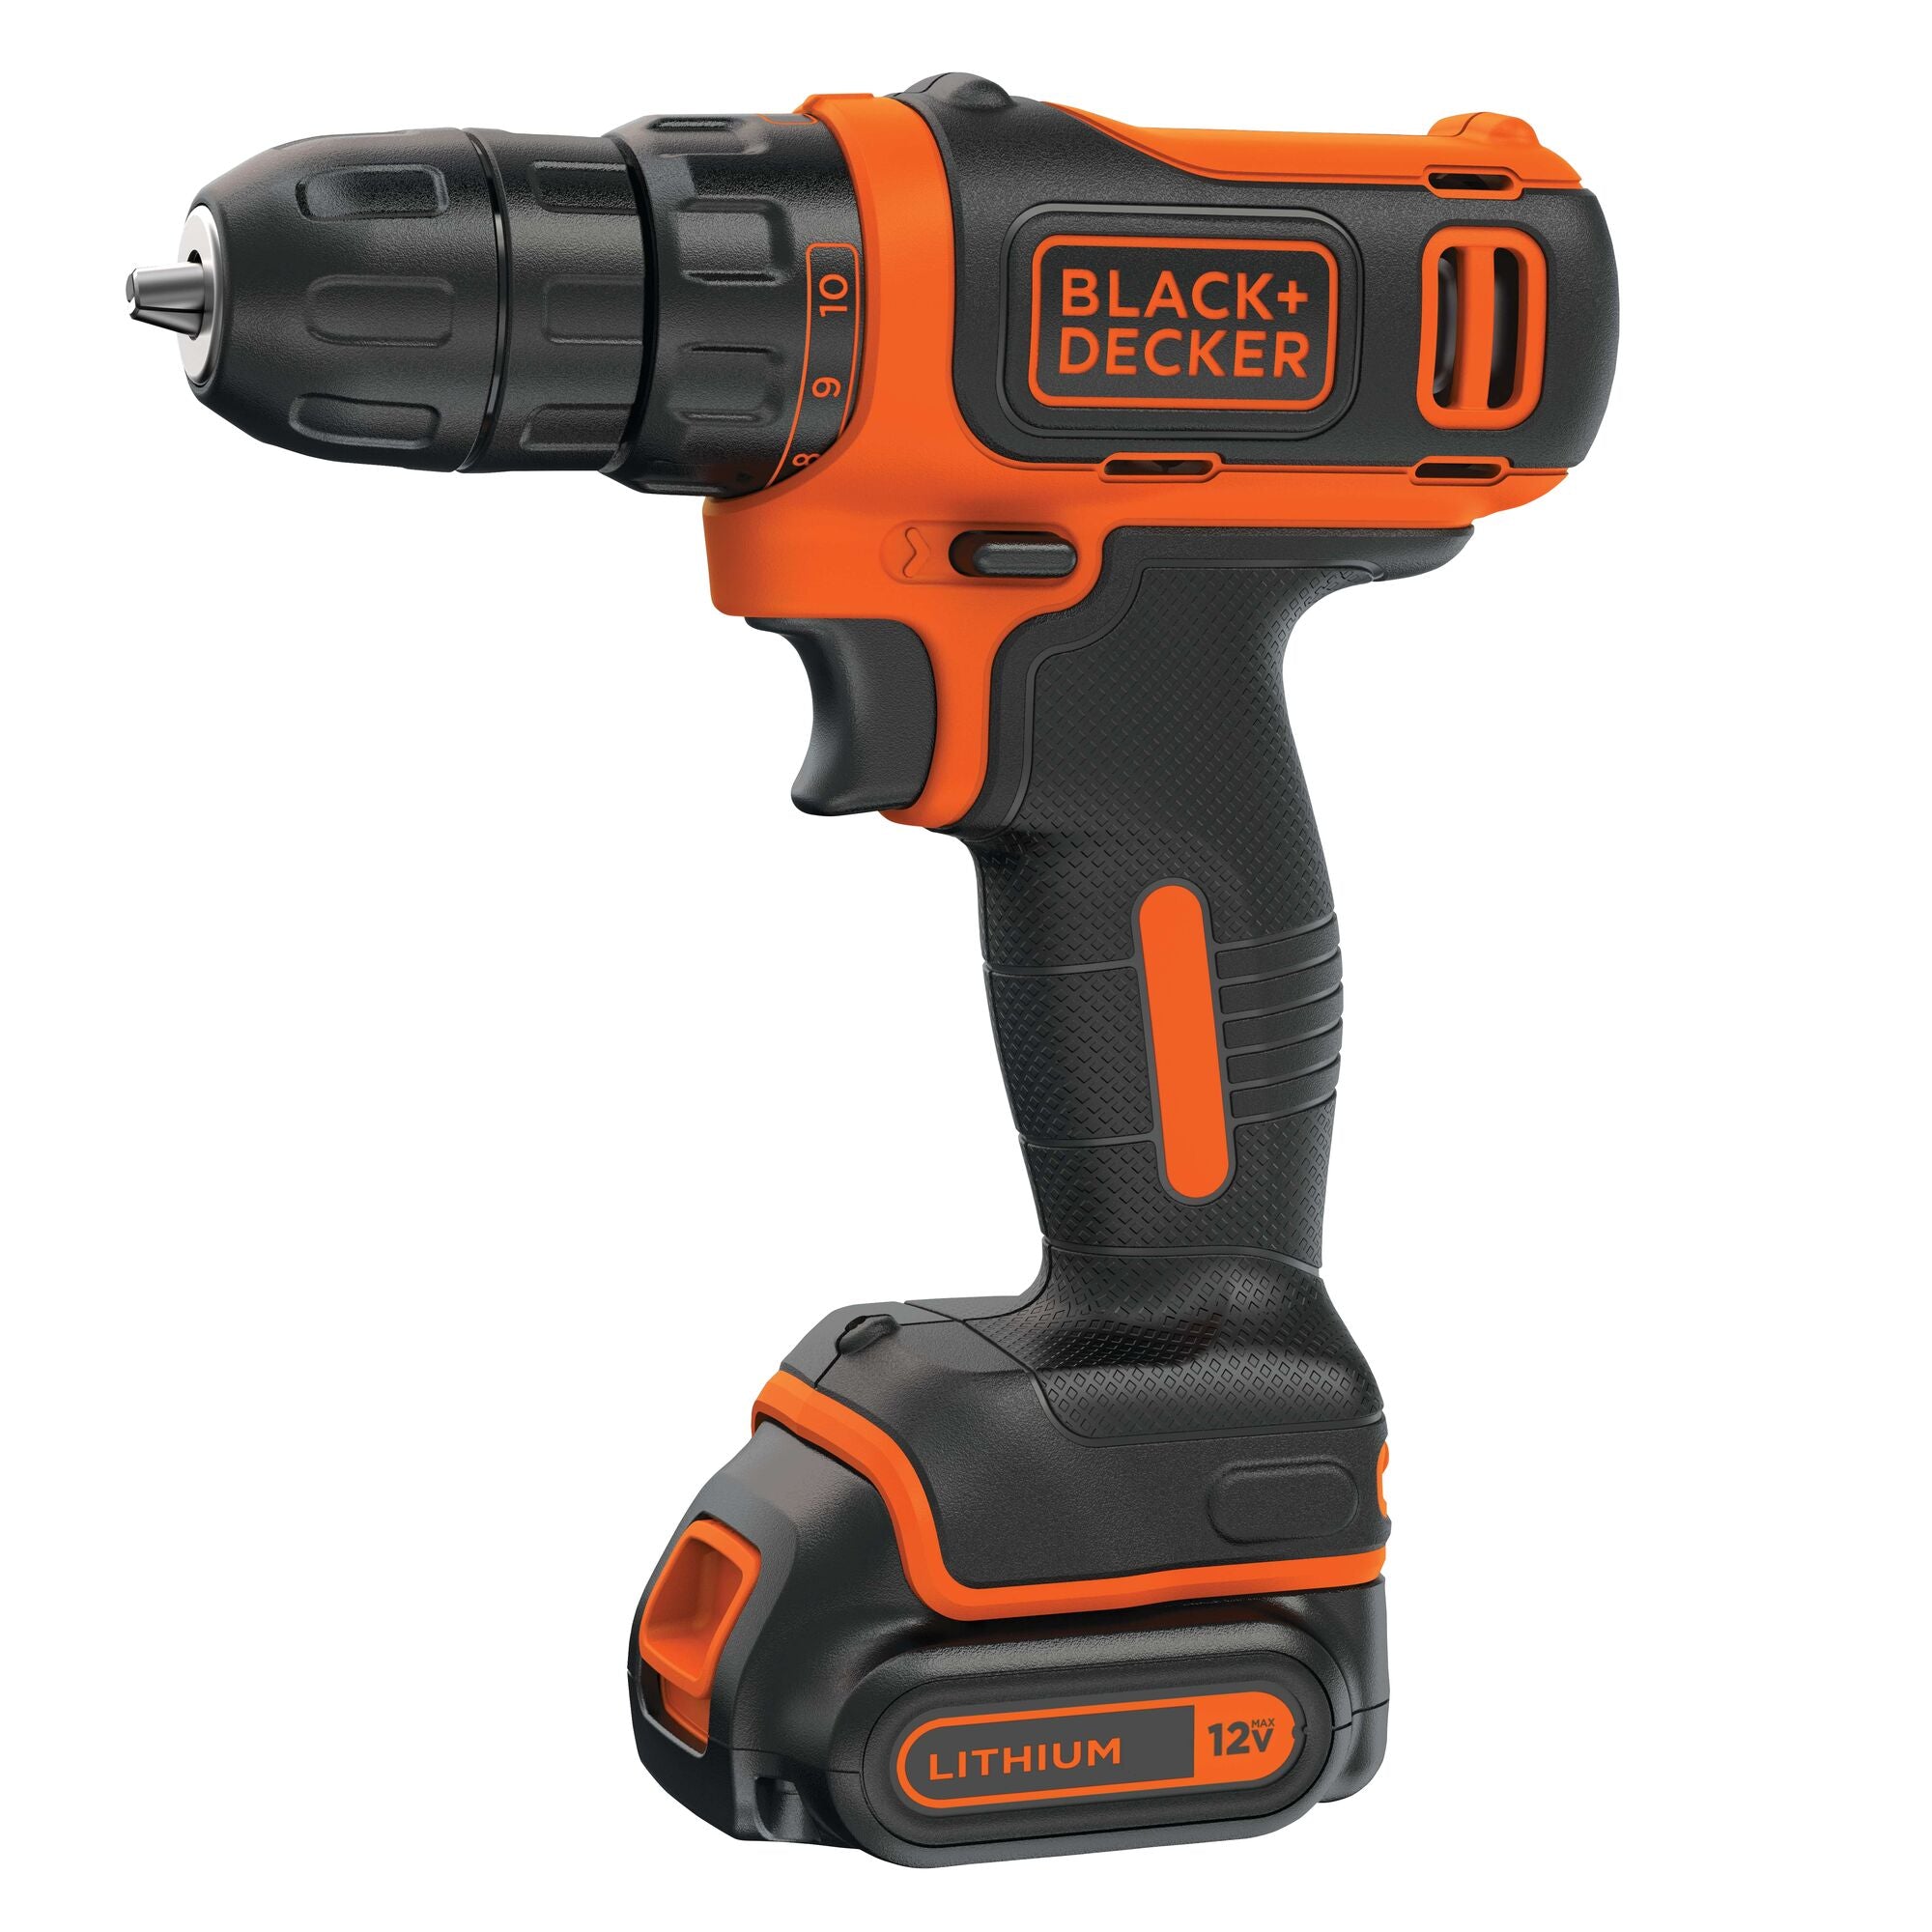
Credit: www.blackanddecker.com
Frequently Asked Questions
How To Insert Drill Bit Into Black And Decker Drill?
First, loosen the chuck by rotating it counterclockwise. Insert the drill bit into the chuck. Tighten the chuck by rotating it clockwise until secure.
How To Use A Drill Step By Step?
1. Select the appropriate drill bit. 2. Secure the bit in the drill chuck. 3. Mark the drilling spot. 4. Hold the drill firmly. 5. Start drilling at a low speed. 6. Increase speed gradually. 7. Apply steady pressure. 8.
Stop drilling once the hole is complete.
How To Use Black And Decker Simple Start?
Turn on the Black and Decker Simple Start. Connect it to your car battery. Wait for the green light. Start your car. Disconnect and store.
How Long Does A 12v Drill Battery Take To Charge?
A 12V drill battery usually takes 30 minutes to 5 hours to charge, depending on the charger and battery type.
Conclusion
Using the Black and Decker 12V drill is straightforward. Follow the steps mentioned, and you will complete your projects efficiently. Practice makes perfect. With regular use, you will gain confidence. Remember to prioritize safety. Keep your work area clean and well-lit.
This tool is perfect for home tasks. Happy drilling!