How to Put 1/16 Drill Bit in Drill: Step-by-Step Guide for Beginners
Using a 1/16 drill bit may look simple, but many people make small mistakes that can break the bit or damage the material. If you have ever struggled to fit such a small drill bit into a drill, you are not alone. This guide explains everything you need—from choosing the right drill and bit to installing, using, and caring for it. Whether you are a beginner or want to avoid common errors, you will find practical advice that goes beyond basic instructions.
Article Summary
- Why Use A 1/16 Drill Bit?
- Understanding Your Drill
- 16 Steps To Put A 1/16 Drill Bit In A Drill
- Common Mistakes To Avoid
- Drill Bit Material Comparison
- Practical Tips For Small Drill Bits
- When To Replace A 1/16 Drill Bit
- Safety Precautions
- Storing And Organizing Small Bits
- Troubleshooting Drilling Problems
- Real-world Example
- Care And Maintenance Of Drill Bits
- Quick Comparison: Keyed Vs Keyless Chuck
- Additional Resources
- Frequently Asked Questions
Why Use A 1/16 Drill Bit?
A 1/16 drill bit is very thin. It is often used for pilot holes, small screws, jewelry, electronics, and crafts. The main benefit is its precision. For example, when you need a small starter hole in wood to stop splitting, 1/16 inch is a popular choice. But the small size makes it easy to bend or snap if used the wrong way.
Understanding Your Drill
Before inserting a 1/16 drill bit, you need to know your drill type. Most home users have corded or cordless drills with a keyed or keyless chuck. The chuck is the part that holds the bit. Some drills are made for small bits, but others need an adapter or special chuck.
| Drill Type | Chuck Type | Supports 1/16 Drill Bit? |
|---|---|---|
| Corded Drill | Keyed/Keyless | Yes |
| Cordless Drill | Keyed/Keyless | Yes |
| Impact Driver | Hex Chuck | Sometimes (with adapter) |
| Rotary Tool | Collet | Yes |
16 Steps To Put A 1/16 Drill Bit In A Drill
Each step below helps you avoid mistakes and achieve a secure, straight installation. Even if you think you know how, read each point—you might discover something new.
1. Check Drill Compatibility
Not all drills can hold a 1/16 drill bit. Look at your chuck markings. Most chucks support bits from 1/16 inch up to 1/2 inch, but some older or heavy-duty drills cannot grip such small bits well. Double-check the lowest size on your chuck. If your drill does not go down to 1/16 inch, you need a drill chuck adapter.
2. Select The Right Drill Chuck
Keyless chucks are easier for beginners. You turn the chuck by hand to tighten or loosen. Keyed chucks use a special tool (a key) to open and close. For small bits, a keyless chuck gives better control, but a keyed chuck may grip tighter. If you often use small bits, consider a drill with a precision chuck.
3. Unplug Or Power Off The Drill
Safety is crucial. Always unplug a corded drill or remove the battery from a cordless drill before changing the bit. This simple habit prevents accidental starts that can cause injury.
4. Open The Chuck Properly
Turn the chuck counterclockwise (or use the key) until the jaws open wide enough. For a 1/16 drill bit, you do not need to open very wide. Opening too far can make it harder to center the bit later.
5. Inspect The Drill Bit
Look for bends, chips, or rust on the 1/16 drill bit. Even a tiny bend can make the drill wobble, ruin your hole, or snap the bit. If you see any damage, use a new bit.
6. Insert The Bit Into The Chuck
Slide the 1/16 drill bit gently into the center of the chuck. Try to keep the bit as straight as possible. Because the bit is so thin, even a small angle can cause it to break when you start drilling.
7. Center The Drill Bit
This step is often skipped. Hold the drill vertically and check from two angles that the bit is perfectly centered in the chuck. A misaligned bit will wobble and may snap or make an uneven hole.
8. Tighten The Chuck Firmly
If you have a keyless chuck, grip the chuck and tighten by hand until you feel resistance. For a keyed chuck, use the key to turn and tighten each hole on the chuck, not just one. A loose bit will slip, especially small ones like 1/16 inch.
9. Double-check The Grip
Gently try to wiggle or pull the drill bit. If it moves, tighten the chuck more. This check can prevent the bit from slipping during drilling, which is a common cause of damaged bits.
10. Reconnect Power Safely
Once the bit is secured, plug in your drill or reattach the battery. Never skip this order—connecting power before inserting the bit can lead to accidents.
11. Set The Drill Speed
A small bit like 1/16 inch works best at high speed but with gentle pressure. Most drills have a speed setting. Choose a higher speed (but not the maximum) for wood, plastics, or soft metals. For harder materials, use slower speeds to prevent overheating.
12. Mark The Drilling Spot
Use a center punch or a sharp nail to make a small indentation where you want to drill. This helps the thin drill bit start in the right place and keeps it from wandering.
13. Hold The Drill Steady
Support the drill with both hands. For thin bits, stability matters more than strength. Let the drill do the work—don’t force it, or the bit can bend or break.
14. Start Drilling Slowly
Begin drilling at a slow speed to make sure the bit stays in position. After a few seconds, increase speed as needed. For deep holes, back out the bit every so often to clear debris.
15. Remove The Bit After Use
Once finished, power off the drill and open the chuck. Pull out the 1/16 drill bit carefully. Store it in a safe place—these small bits are easy to lose or damage.
16. Inspect And Clean The Bit
Look for signs of wear, bending, or dullness. Wipe the bit clean before storing. This extends the life of your drill bits and keeps them ready for next time.
Common Mistakes To Avoid
Beginners often make small errors when using a 1/16 drill bit. Here are some pitfalls to avoid:
- Forcing the bit: Thin bits break easily if too much pressure is applied.
- Using a damaged bit: Even small bends or chips can cause trouble.
- Not centering the bit: An off-center bit will wobble and give a poor result.
- Skipping safety: Always disconnect power before changing bits.

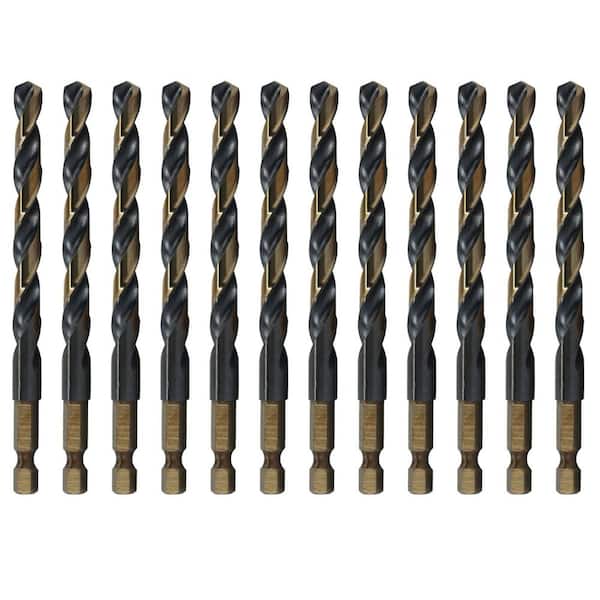
Credit: www.youtube.com
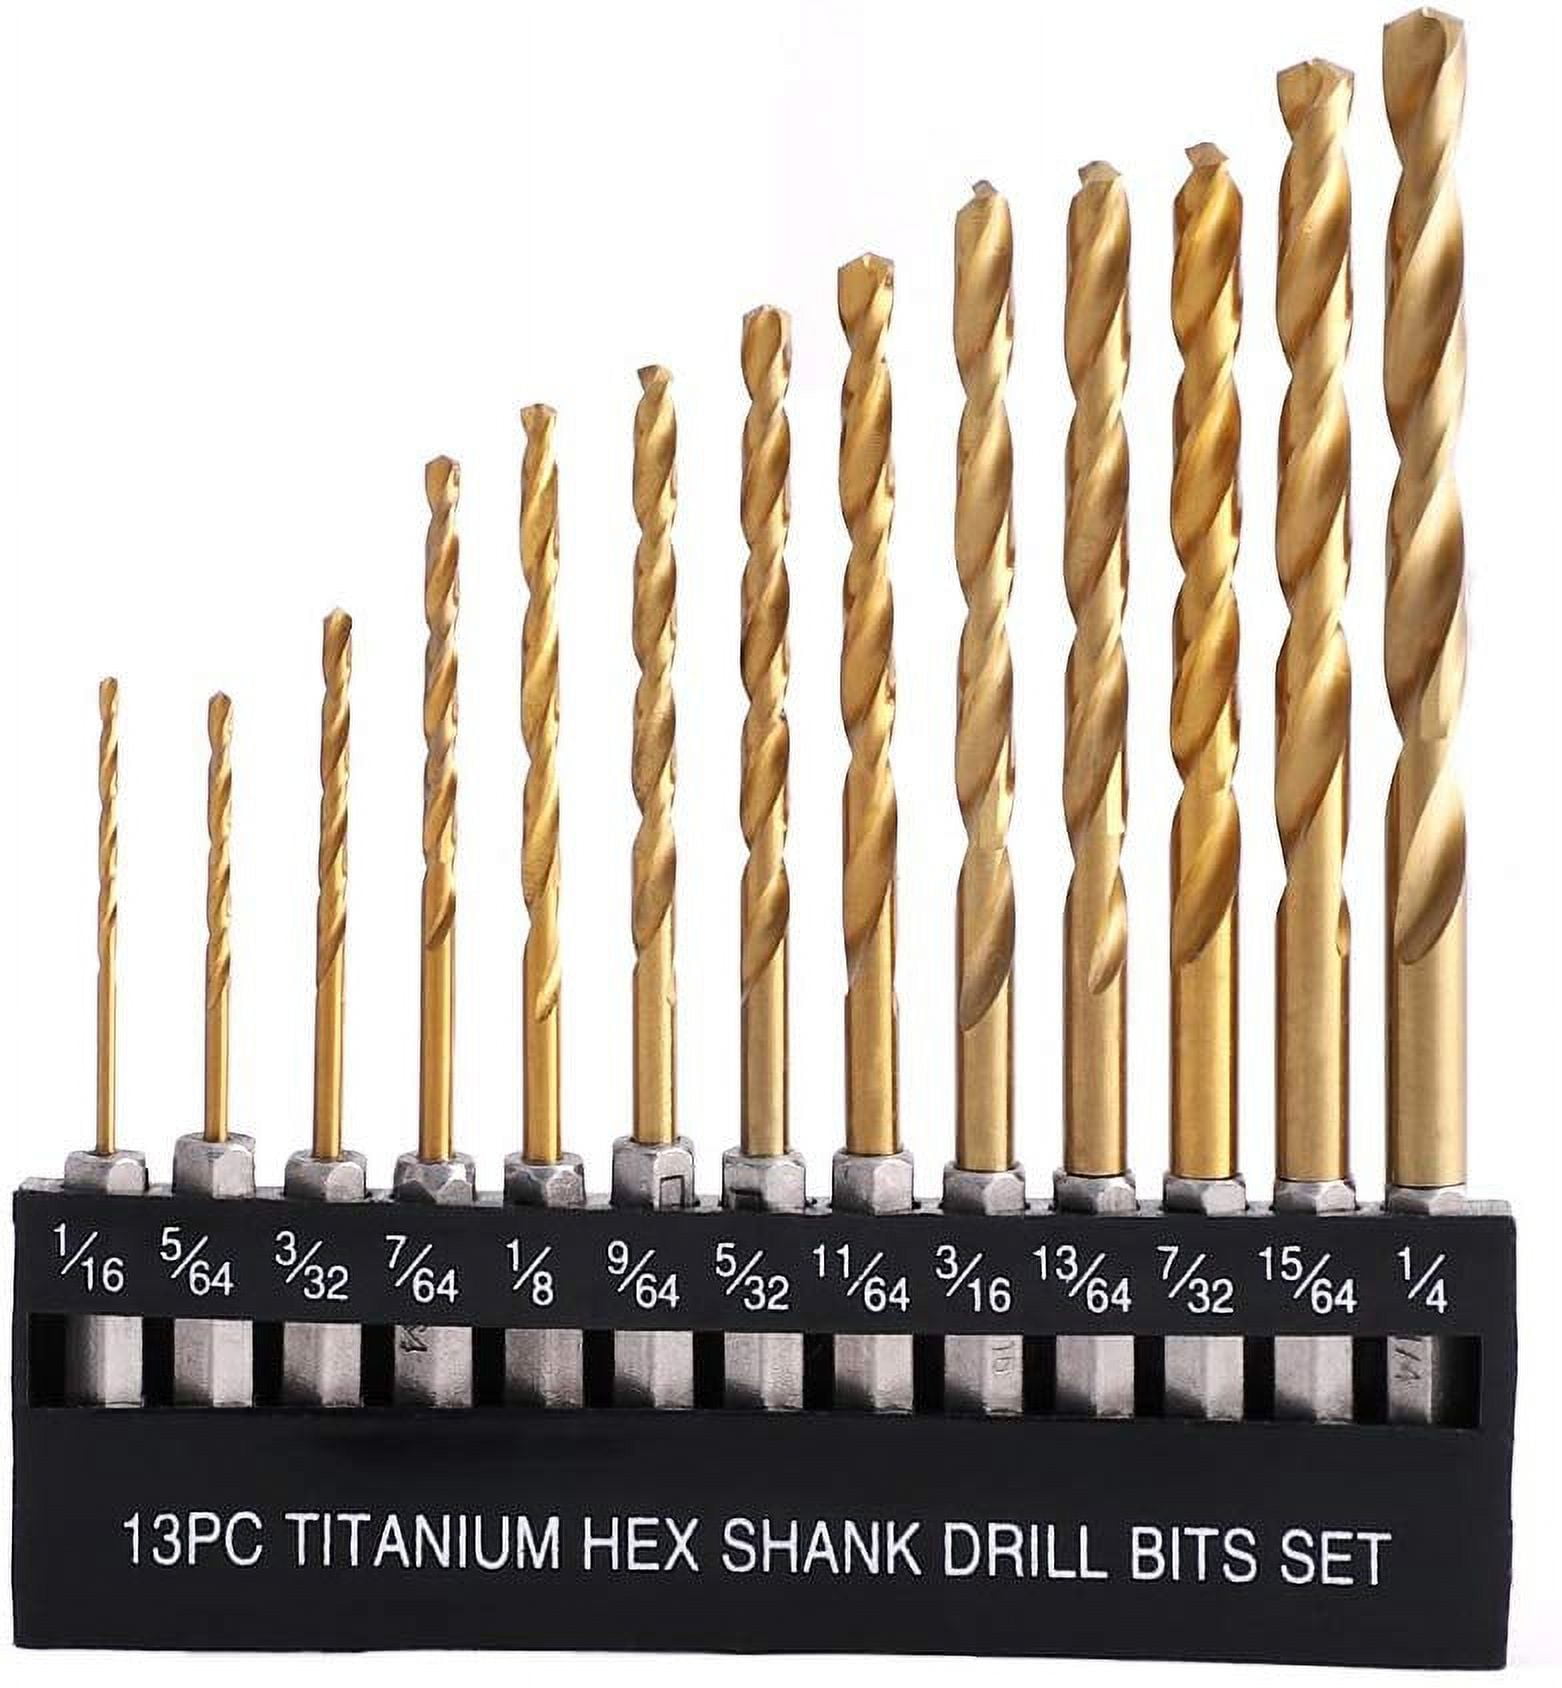
Drill Bit Material Comparison
Choosing the right material for your drill bit is important for performance and durability. Here’s a quick overview:
| Material | Best For | Durability |
|---|---|---|
| High-Speed Steel (HSS) | Wood, Plastic, Soft Metals | Good |
| Cobalt | Stainless Steel, Hard Metals | Excellent |
| Titanium-coated | General Purpose | Very Good |
| Carbide | Ceramics, Tiles | Best |
Most 1/16 drill bits for home use are high-speed steel. For tough jobs, consider cobalt or titanium-coated bits.
Practical Tips For Small Drill Bits
- Always use a sharp bit. Dull bits make the drill work harder and increase breakage risk.
- For metal, use a drop of oil to reduce heat.
- For deep holes, drill in short bursts and remove debris.
- Store small bits in a case to prevent bending.
When To Replace A 1/16 Drill Bit
You should replace your 1/16 drill bit if:
- It bends, even slightly.
- It becomes dull and struggles to cut.
- It shows rust or heavy wear.
Regular inspection saves time and improves results. A broken bit inside your material is hard to remove and can ruin a project.
Safety Precautions
- Wear safety goggles—bits can snap and fly off.
- Use clamps or a vise to hold small workpieces.
- Keep your hands away from the drill tip.
- Work in a well-lit, stable area.
Credit: www.homedepot.com
Storing And Organizing Small Bits
Small bits like 1/16 inch are easy to lose. Use a labeled case or magnetic strip. Avoid throwing bits in a toolbox—they will get bent or lost.
Troubleshooting Drilling Problems
If your bit keeps breaking:
- Check your speed and pressure.
- Make sure the bit is sharp.
- Use a pilot hole for thick materials.
If the bit slips in the chuck:
- Tighten the chuck more.
- Make sure the bit is clean and oil-free.
Real-world Example
Sarah, a beginner woodworker, tried to drill pilot holes for small screws in pine. Her 1/16 drill bit kept snapping. She realized she was forcing the drill and not using a center punch. After following the steps above, she drilled clean holes without breaking a bit.
Care And Maintenance Of Drill Bits
Regular cleaning and inspection extend the life of your drill bits. After each use, wipe the bit with a cloth. For stubborn debris, use a small brush. Store bits in a dry place to prevent rust.
Credit: www.walmart.com
Quick Comparison: Keyed Vs Keyless Chuck
| Feature | Keyed Chuck | Keyless Chuck |
|---|---|---|
| Ease of Use | Needs key, slower | Tool-free, faster |
| Grip Strength | Stronger, more secure | Good, but can slip |
| Best For | Heavy-duty drilling | Frequent bit changes |
Additional Resources
For more detail on drill types and bits, see the Wikipedia Drill Bit Article.
Frequently Asked Questions
How Do I Know If My Drill Can Hold A 1/16 Drill Bit?
Check your drill chuck. Most chucks are labeled with the smallest and largest bit sizes they accept. If you do not see 1/16 inch or smaller, check your user manual.
Why Does My 1/16 Drill Bit Keep Breaking?
Most breaks happen due to too much pressure, drilling at an angle, or using a dull or bent bit. Make sure you let the drill do the work and use a sharp, straight bit.
Can I Use A 1/16 Drill Bit In A Cordless Drill?
Yes, as long as your cordless drill chuck can grip 1/16 inch. Most modern cordless drills are suitable, but check the size range to be sure.
What Material Is Best For A 1/16 Drill Bit?
For most home tasks, high-speed steel (HSS) is enough. For metal or tough jobs, cobalt or titanium-coated bits last longer.
How Do I Prevent The Drill Bit From Wandering?
Make a small indentation with a center punch or nail before drilling. This helps guide the bit and keeps it from sliding off your mark.
Getting a 1/16 drill bit into your drill the right way is more than just tightening the chuck. With careful steps, you get smoother, safer results and avoid broken bits. Practice these tips and your projects will look and work better, with less frustration.