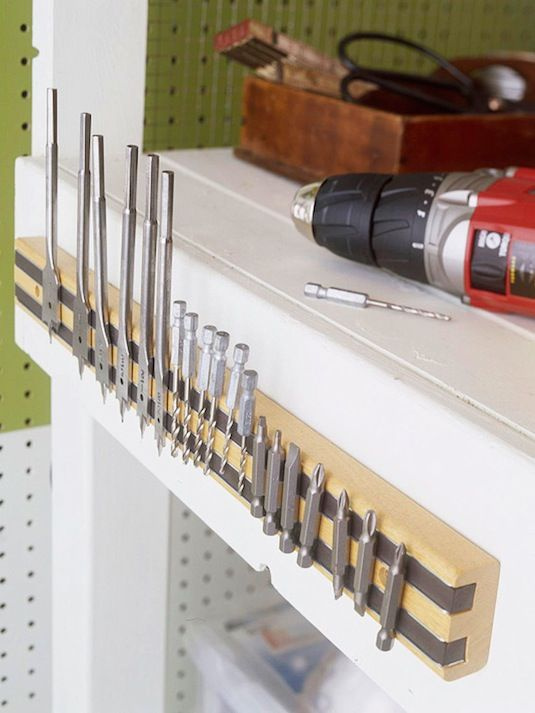
Credit: community.glowforge.com
Article Summary
Introduction
Do you have many drill bits? Do you want to organize them? You can make your own drill bit holder. It is simple and useful.
Materials Needed
You will need some materials. Here is a list:
- Wood block
- Drill and drill bits
- Sandpaper
- Ruler and pencil
- Clamp (optional)
- Wood finish or paint (optional)
Step-by-Step Instructions
Step 1: Choose Your Wood
Choose a wood block. It should be strong. It should be thick enough to hold the drill bits.
Step 2: Measure And Mark
Use a ruler. Measure your drill bits. Mark the spots where you will drill the holes. Make sure the holes are evenly spaced.
Step 3: Start Drilling
Clamp the wood block if needed. Use the drill to make holes. Make sure the holes are deep enough. But not too deep.
Step 4: Sand The Wood
Use sandpaper. Smooth the wood. Remove any rough edges. This makes it safe to handle.
Step 5: Finish The Wood (optional)
You can finish the wood. Use wood finish or paint. This makes it look nice. Let it dry completely.
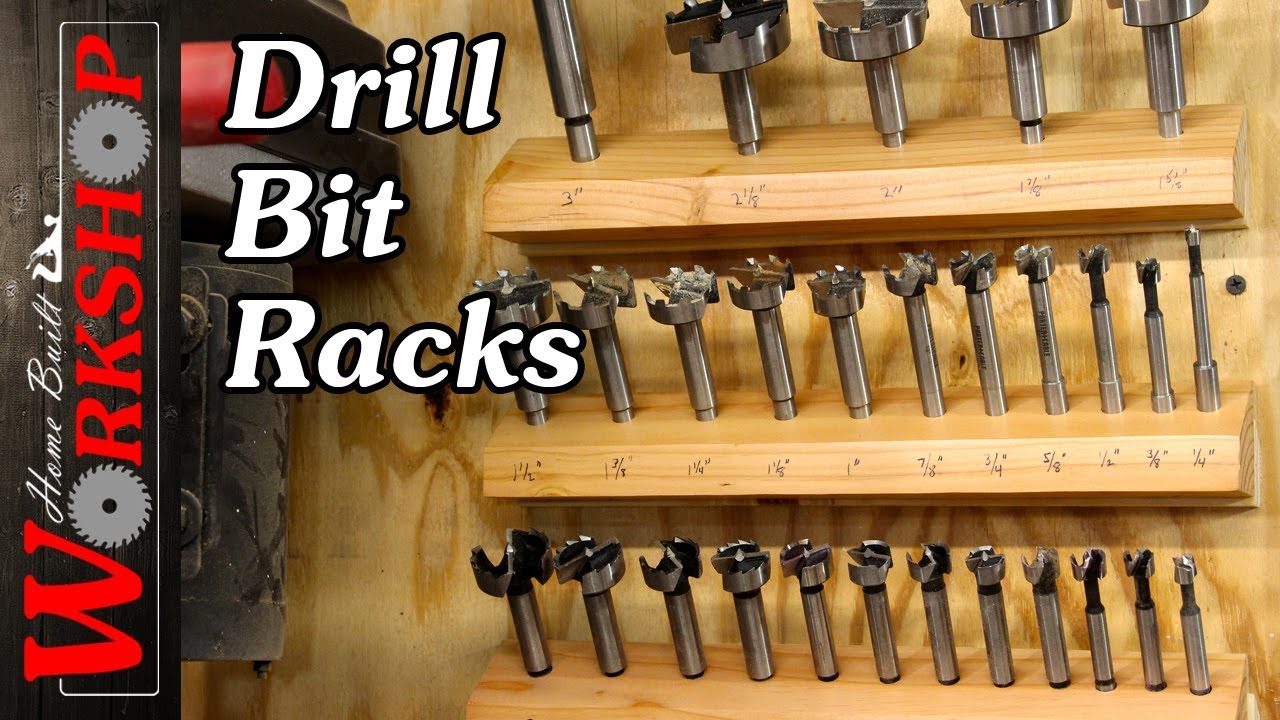
Credit: www.youtube.com
Tips for a Better Drill Bit Holder
- Label the holes. This helps you know which bit goes where.
- Make different sizes of holes. This can hold different types of bits.
- Use a bigger wood block. This can hold more drill bits.
Frequently Asked Questions
What Materials Do I Need To Make A Drill Bit Holder?
You need wood, screws, a drill, and sandpaper.
How Do I Start Making A Drill Bit Holder?
First, gather all materials and tools. Then measure and cut the wood.
Can I Make A Drill Bit Holder Without Woodworking Skills?
Yes, basic woodworking skills are enough. Follow simple instructions carefully.
How Do I Ensure Drill Bits Fit Securely?
Measure drill bit sizes accurately. Then, drill holes accordingly.
Conclusion
Making a drill bit holder is easy. It helps you stay organized. Follow these steps. You will have a great holder in no time.