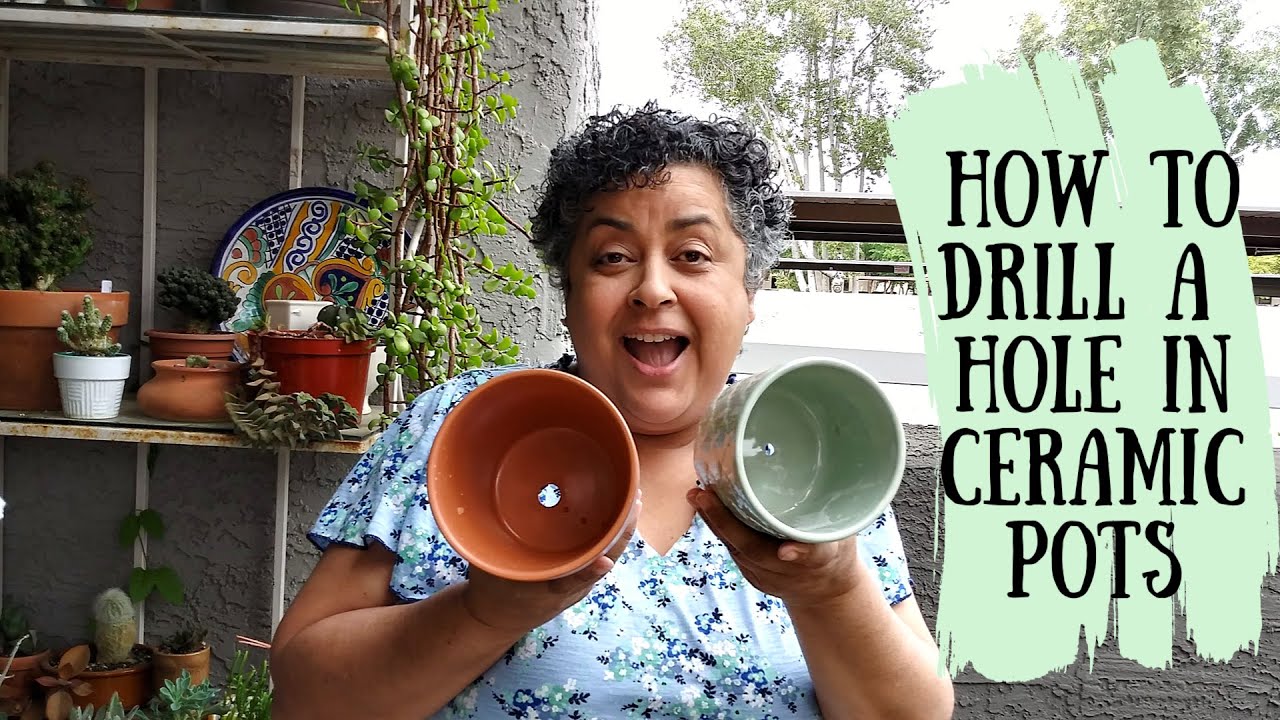
Drilling a hole in a terracotta pot can seem risky if you have never done it before. Terracotta is a type of clay that becomes hard and brittle after firing. This makes it great for plants, but also easy to crack if you use the wrong technique. Still, adding drainage holes or customizing pots is often necessary for healthy plants and creative projects. The good news is, with the right tools and careful steps, you can drill clean holes in terracotta without breaking the pot. This guide will show you exactly how to do it, highlight common mistakes, and provide tips even experienced gardeners sometimes miss.
Article Summary
- Why Drill A Hole In A Terracotta Pot?
- Tools And Materials You’ll Need
- How To Drill A Hole In A Terracotta Pot Safely
- Common Mistakes To Avoid
- Practical Tips For Success
- How Terracotta Compares To Other Materials
- Choosing The Right Drill Bit: A Closer Look
- Safety Tips You Should Never Ignore
- Real-world Example: Drilling For A Hanging Herb Garden
- What If The Pot Cracks Or Breaks?
- Advantages Of Diy Drainage Holes
- Two Insights Most Beginners Miss
- Environmental Note
- Where To Find More Information
- Frequently Asked Questions
Why Drill A Hole In A Terracotta Pot?
Most terracotta pots come with just one small drainage hole, or sometimes none at all. But healthy plant roots need good drainage to avoid root rot and overwatering. Adding extra holes helps water flow out, especially for plants that hate soggy soil. Sometimes you may want to hang a pot, make a lamp, or create a unique garden project that needs more holes.
Drilling your own holes is also cheaper than buying special pots. You get more control over pot design and plant health. Some gardeners are surprised to learn that even large, expensive terracotta pots can be safely drilled at home.
Tools And Materials You’ll Need
Having the right gear is essential for safety and success. Here’s what you should gather before you start:
- Electric drill: A cordless drill is best for control and safety.
- Masonry drill bit: These are designed for hard materials like terracotta, tile, and brick. Avoid wood or metal bits.
- Masking tape: Helps prevent the drill bit from slipping on the pot’s smooth surface.
- Water spray bottle: Keeps the drilling area cool and reduces dust.
- Protective gear: Wear safety glasses, a dust mask, and gloves.
- Towel or rubber mat: To support the pot and prevent it from rolling or cracking.
- Pencil or marker: For marking the drilling spot.
Some people use a Dremel tool with a diamond bit for small holes, but for most tasks, a standard drill works best.
Credit: www.youtube.com
How To Drill A Hole In A Terracotta Pot Safely
Let’s break down the process step-by-step, so you can avoid cracks and get a clean hole every time.
1. Choose The Right Pot And Spot
Check your pot for existing cracks or weak spots. Older terracotta is sometimes more brittle. Pick a location on the flat bottom or side (for hanging pots) away from any weak areas. Mark the spot with your pencil.
2. Prepare Your Workspace
Lay a thick towel or rubber mat on a hard surface like a workbench or table. This cushions the pot and keeps it from slipping. Place your pot upside down or sideways, depending on where you need the hole.
3. Mark And Tape
Put a small square of masking tape over the spot you marked. This simple trick gives the drill bit something to grip, so it doesn’t slide away as you start.
4. Set Up The Drill
Insert a masonry bit (usually 1/4 inch or 6mm is good for drainage, but use the size you need). Set your drill to a slow speed and turn off the hammer function if it has one. High speed or hammering can shatter terracotta.
5. Start Drilling Slowly
Hold the drill perpendicular to the pot. Apply gentle, steady pressure. Let the drill bit do the work—don’t push hard. At first, you’ll just make a shallow guide hole.
6. Keep It Cool
Terracotta heats up fast and cracks when hot. Every few seconds, spray the drilling area with water. This keeps the pot cool and reduces dust. Never drill dry for long.
7. Finish With Care
Once you’re halfway through, you may feel the drill speed up slightly. Ease off pressure as you break through the other side. If you push too hard at the end, the pot can chip or break.
8. Smooth The Edges
Use a small file, sandpaper, or the side of your drill bit to gently remove any sharp edges around the hole. This is especially important for hanging pots or if you will handle the hole often.
Common Mistakes To Avoid
Even experienced gardeners sometimes make these errors:
- Drilling too fast: High speed causes heat and cracks. Slow and steady works best.
- Using the wrong bit: Wood or metal bits can slip and overheat. Always use a masonry or tile bit.
- Drilling dry: Skipping water cooling is a top cause of cracks.
- No support: Drilling on a hard surface without a towel can shock and break the pot.
- Forcing the drill: Let the bit grind gently, don’t push.

Credit: www.youtube.com
Practical Tips For Success
- If you need a large hole, start with a small bit, then switch to a bigger one.
- For extra strength, soak the pot in water for 15–20 minutes before drilling. This reduces dust and slightly softens the clay.
- If drilling multiple holes, let the pot cool between each one.
- Clean the pot thoroughly before planting—dust can harm roots.
- When drilling side holes for hanging, make sure both holes are level for balanced hanging.
How Terracotta Compares To Other Materials
It helps to know how terracotta stacks up against other common pot materials. Here’s a quick comparison:
| Material | Drillability | Common Issues | Best Drill Bit |
|---|---|---|---|
| Terracotta | Easy (with care) | Cracking from heat or force | Masonry/Tile Bit |
| Glazed Ceramic | Medium (slippery surface) | Chipping, slipping | Diamond Bit |
| Plastic | Very Easy | Melting if too hot | Standard Bit |
| Concrete | Hard | Heavy dust, bit wear | Masonry Bit |
Terracotta is easier to drill than glass or stoneware, but it demands patience and the right bit.

Credit: www.wikihow.com
Choosing The Right Drill Bit: A Closer Look
Not all masonry bits are equal. Here’s a quick look at the main types you might consider:
| Drill Bit Type | Best For | Durability | Cost |
|---|---|---|---|
| Masonry (Carbide Tip) | Terracotta, Brick | High | Low |
| Diamond-Coated | Glazed Ceramic, Glass | Very High | Medium/High |
| Tile Bit | Tile, Porcelain | Medium | Medium |
For most terracotta pots, a simple carbide-tipped masonry bit is enough. For thick or glazed pots, consider a diamond bit.
Safety Tips You Should Never Ignore
- Always wear safety glasses to protect your eyes from flying chips.
- Use a dust mask—terracotta dust is fine and can irritate your lungs.
- Drill in a well-ventilated area or outdoors.
- Keep children and pets away while drilling.
- Unplug or remove the battery from your drill before changing bits.
Real-world Example: Drilling For A Hanging Herb Garden
Imagine you want to create a hanging herb garden using small terracotta pots. You need two side holes for the wire, plus a larger drainage hole.
- Mark two points on opposite sides, about 1 inch from the rim.
- Use a small masonry bit (1/8 inch) for the wire holes.
- Drill slowly, spraying water as you go.
- For the bottom, use a 1/4 inch bit for drainage.
- Smooth all holes with sandpaper.
- Thread your wire or twine and plant your herbs.
This project is only possible if you drill carefully and avoid forcing the bit.
What If The Pot Cracks Or Breaks?
Sometimes, even with care, a pot can crack. Don’t throw it away! You can use cracked terracotta for:
- Garden edging or mosaic projects.
- Mixing into soil for cactus drainage.
- Repair with strong outdoor glue for non-structural cracks.
Many gardeners find creative ways to reuse broken pots, so it’s never a total loss.
Advantages Of Diy Drainage Holes
- Custom drainage: Fit the hole size to your plant type.
- Cost savings: Use pots you already have.
- Creative freedom: Make unique planters, lamps, or art.
- Better plant health: Less risk of root rot.
Two Insights Most Beginners Miss
- Water cooling is not optional: Many guides forget to stress how essential water is. Even quick drilling can cause enough heat to crack a pot. Keep spraying often, not just at the start.
- Start small, finish big: Trying to drill a large hole in one go almost always fails. Start with a small pilot hole, then use a larger bit. This simple trick greatly reduces cracks.
Environmental Note
Terracotta is made from natural clay, and drilling your own holes means you can reuse old pots instead of buying new ones. This saves money and reduces waste.
Where To Find More Information
For more about terracotta’s properties and how it’s made, see the Wikipedia page on Terracotta.
Frequently Asked Questions
How Do I Know If My Terracotta Pot Is Safe To Drill?
Most terracotta pots can be drilled if they are free from large cracks or chips. Avoid drilling antique or very thin pots, as they are more likely to break.
What Size Drill Bit Should I Use For Drainage Holes?
A 1/4 inch (6mm) masonry bit is usually good for standard drainage. For larger holes, start with a small bit and work up in size.
Can I Drill A Hole Without A Power Drill?
It’s possible with a manual hand drill or Dremel, but it’s much slower and harder to keep steady. A power drill with a masonry bit is safest and easiest.
What Should I Do If My Pot Cracks While Drilling?
Stop drilling immediately. If the crack is small, you can often still use the pot for non-structural purposes. For big cracks, repurpose the pot or glue for decorative use only.
Is Drilling Terracotta Noisy Or Dusty?
Drilling is not very loud, but it does create fine dust. Always wear a mask, use water for cooling, and work outside or in a well-ventilated space.
Drilling a hole in a terracotta pot is a valuable skill for any gardener or DIYer. With patience, the right tools, and a few expert tricks, you can turn any simple pot into a plant-friendly or creative masterpiece. Remember to keep safety first, cool the drilling area often, and let the drill bit do the work.
Happy planting!