To drill a hanging hole in wood, mark your spot, clamp the wood securely, choose the right drill bit, and drill slowly to avoid splintering. Use masking tape to keep edges clean and finish with light sanding for a neat result.
Drilling a hanging hole in wood sounds easy—until you end up with splinters, crooked holes, or even a cracked board. Whether you’re mounting a shelf, picture frame, or DIY wall art, getting a clean hole in the right spot can feel trickier than expected, especially for beginners.
But don’t worry—you’re in the right place. In this guide, you’ll learn exactly how to drill a perfect hanging hole, even if you’ve never held a drill before. We’ll cover tools, step-by-step tips, and smart tricks to make your next project smooth and splinter-free. Let’s walk through each step with clear examples and helpful visuals.
Article Summary
Tools and Materials You’ll Need
Before drilling, make sure you have the right tools and materials. Using the correct gear keeps your work safe, clean, and accurate. Here’s everything I recommend having on hand:
| Tool/Material | Purpose |
|---|---|
| Drill (corded or cordless) | Creates the hole in the wood. Cordless drills offer flexibility. |
| Drill bits | Choose based on hole size and wood type. I prefer twist bits for small holes and spade or Forstner bits for cleaner, larger ones. |
| Masking tape | Helps prevent splintering around the hole. |
| Clamps | Hold the wood securely in place to avoid movement. |
| Pencil or marker | Marks the exact point for the hole. |
| Center punch or nail | Creates a small dent to guide the drill bit. |
| Measuring tape or ruler | Ensures the hole is centered and level. |
| Sandpaper (fine grit) | Smooths the edges after drilling. |
| Safety goggles and gloves | Protect your eyes and hands during drilling. |
If you’re unsure about choosing the right drill or bit, I suggest checking out trusted sources like Family Handyman’s drill buying guide or OSHA’s hand and power tool safety tips.
In my workshop, I use a 12V cordless drill from DeWalt for most indoor jobs, especially when working with pine, MDF, or plywood. For harder woods like oak, I switch to a corded model for more torque and speed control.
How to Drill a Hanging Hole in Wood – Step-by-Step
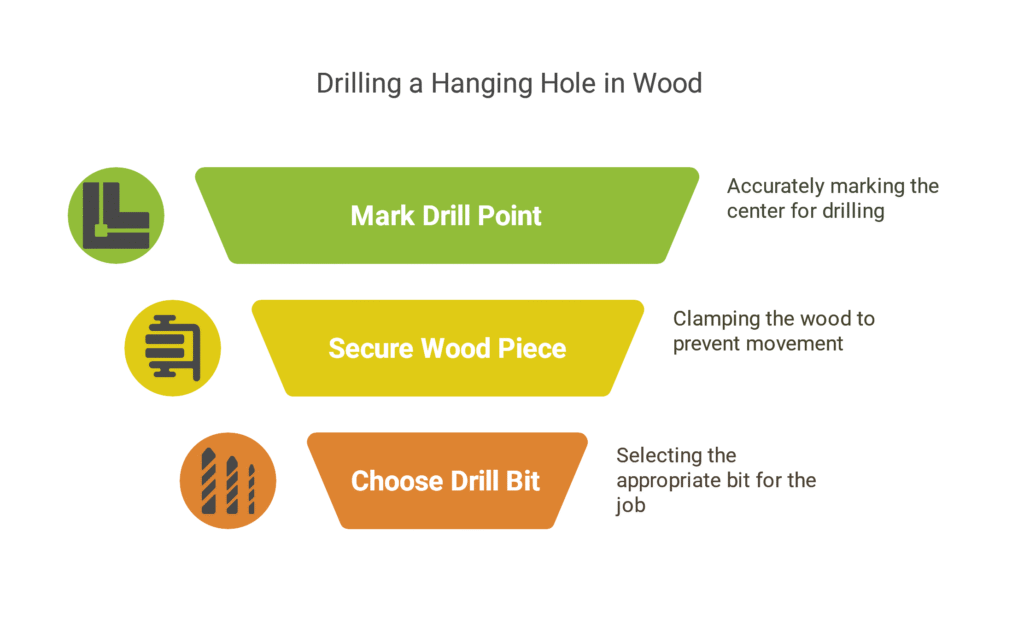
Drilling a hanging hole isn’t hard once you know what to do. Here’s my proven method, broken into clear, simple steps:
Step 1 – Mark Your Drill Point Accurately
Use a pencil to mark the exact center of where you want the hole. If you’re hanging something symmetrical like a shelf or frame, measure both sides to keep it even. Double-check with a ruler or tape measure.
For extra precision, use a center punch or nail to create a small indentation. This keeps your bit from slipping, especially on smooth surfaces.
Step 2 – Secure the Wood Piece
Clamping the wood is a must. I never drill freehand—it’s unsafe and leads to crooked or oversized holes.
Place your workpiece on a flat surface. Use two clamps to hold it down tightly. If you’re drilling near the edge, slide a scrap wood block under the hole area to prevent blowout on the backside.
Step 3 – Choose the Right Drill Bit
Pick a bit based on your desired hole size and type of wood. For most hanging holes:
- Twist bits work well for softwood and general drilling.
- Spade bits are great for fast, wide holes but can cause splinters.
- Forstner bits give the cleanest edges and are my top choice for furniture or display work.
Make sure the bit is sharp and clean. A dull bit burns the wood and ruins accuracy.
If you need help deciding, this drill bit guide by Bob Vila is a great resource for beginners and pros alike.
Drilling Without a Drill – Alternative Methods

No drill? No problem. There are still a few ways to make hanging holes in wood, though they take more time and effort.
Using a Nail and Hammer
For softwoods or small holes, hammering a large nail into the wood and pulling it back out can work. It’s not pretty, but it gets the job done for lightweight hanging.
Just be careful not to split the wood—use small, controlled taps and pre-mark your hole.
Rotary Tools (Dremel)
A rotary tool with a small drill bit attachment can create fine holes in thinner materials. Dremel kits are great for hobbyists and small crafts. I’ve used this method on picture frames and wall décor.
Hand Drill or Brace
For a more traditional approach, a hand drill or brace-and-bit offers great control. These tools don’t need power and are safer for kids or beginners. You’ll need a bit of muscle, though.
If you’re interested in hand tools, check out The Spruce’s guide to using a hand drill for helpful visuals.
Each method has its place—but if you plan to do more than one or two holes, I strongly recommend investing in a quality power drill. It’s faster, safer, and makes your project look more professional.
Common Mistakes to Avoid
Drilling into wood looks simple, but even experienced DIYers slip up if they rush. Over the years, I’ve seen many good projects ruined by a few small errors. Let me walk you through the most common mistakes and how to avoid them.
Drilling Too Fast
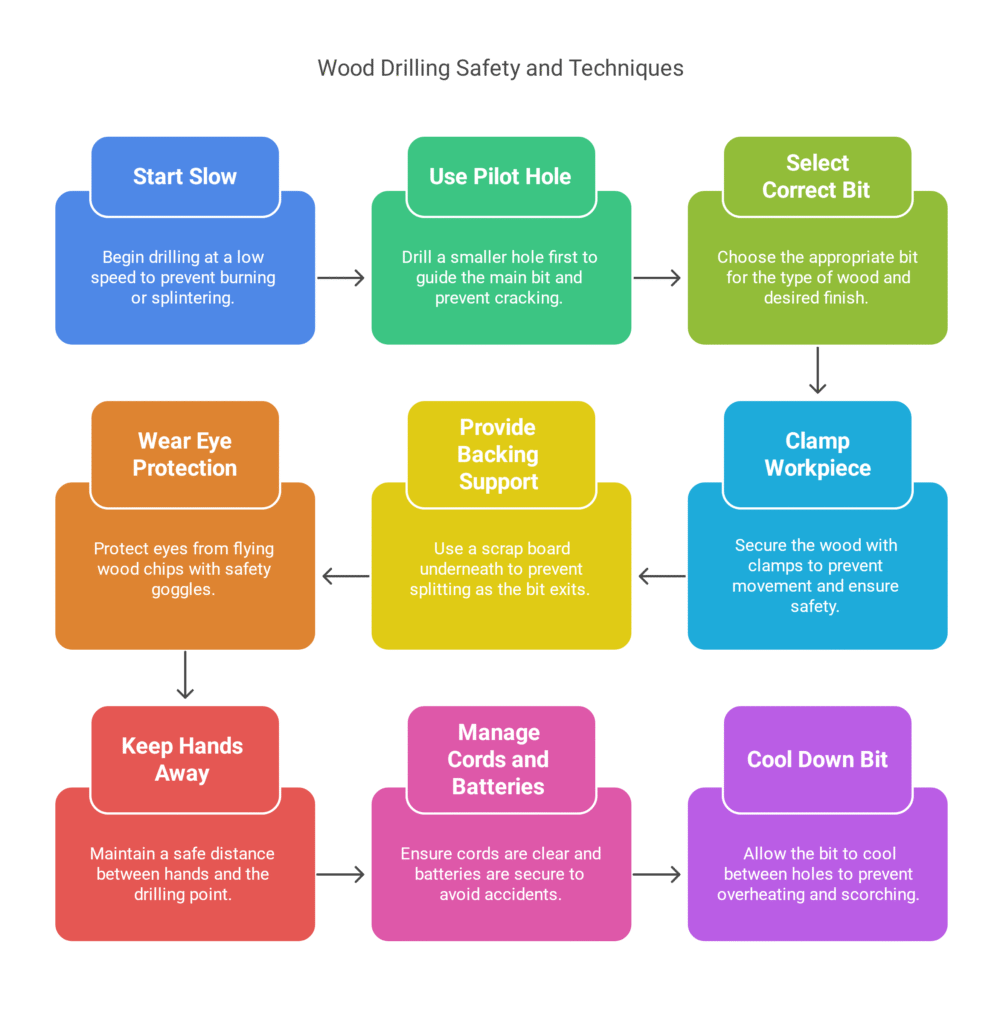
Speed is not your friend here. Many beginners press the trigger all the way down, thinking faster means better. But in reality, a fast-spinning bit burns the wood or splinters the exit side, especially with harder materials. I always tell people to start slow, especially when the bit first touches the surface. Once the bit bites in, you can gently speed up—but never go full throttle.
If you want a visual breakdown of drill speed by material, this guide from ToolGuyd is worth bookmarking.
Skipping a Pilot Hole
For larger holes, always drill a smaller pilot hole first. This makes the main bit easier to control and prevents the wood from cracking. It also reduces strain on your drill motor. I use a 1/8″ bit as my go-to for pilot holes, especially before spade or Forstner bits.
Using the Wrong Bit for the Job
Each bit has a job. Using a twist bit on hardwood or a spade bit without taping the wood can lead to tear-out. I’ve tested dozens of bit styles over the years, and it’s clear: if the job calls for clean edges, go with a Forstner bit. If you just need a fast hole and don’t mind splinters, a spade bit will do fine.
For reference, Popular Mechanics’ drill bit guide explains which bit works best for wood, metal, and other materials.
Forgetting to Clamp the Workpiece
This one is a deal-breaker. If the wood moves mid-drill, the hole ends up crooked—or worse, you injure your hand. Always use clamps. I’ve been using quick-release clamps for years because they’re fast and hold tight.
Drilling Without Backing Support
When I drill near an edge or on thinner wood, I place a scrap board underneath. This keeps the wood from splitting as the bit exits. It’s a small step, but it makes a big difference in finish quality.
Safety Tips When Drilling Wood
Safety doesn’t have to be scary. I’ve worked on construction sites and in home shops for over a decade, and the most common accidents are also the most avoidable. Here’s what I always keep in mind.
Eye Protection Is a Must
Drilling throws up tiny wood chips, especially when using spade or Forstner bits. A chip in your eye can ruin your day—or worse. I wear ANSI-rated safety goggles every time I drill. If you’re unsure, look for a label that says “Z87+”—it’s the safety standard recommended by OSHA.
Keep Hands Away From the Bit
Always hold your drill with both hands. Never hold the wood near the drilling point. I’ve seen people drill straight into their hands while trying to stabilize a small piece. Use clamps instead.
Watch Your Cords and Battery Levels
For corded drills, keep the cord behind your shoulder to avoid tangling. For cordless models, make sure the battery is locked in tight. One time, a loose battery on my impact driver fell mid-job and cracked a floor tile. It’s better to do a quick check before you start.
Let the Bit Cool Between Holes
Bits get hot fast. If you’re making multiple holes, give the bit a few seconds to cool down. Overheating not only dulls the bit but also increases the risk of scorching the wood. You can learn more about bit maintenance and care from Fine Woodworking’s tool care guide.
FAQs
How do you drill a hole without cracking wood?
The best way is to drill slowly, use a sharp bit, and add masking tape over the drill spot. Also, place a scrap board under the wood to stop splintering on the other side.
Can I drill a hole in wood without a drill?
Yes, though it takes more effort. You can use a nail and hammer, a hand drill, or a rotary tool. These work best on softwoods and thin materials.
What size drill bit should I use for picture hanger holes?
For small hangers, I usually use a 1/8-inch or 3/16-inch bit. Check the anchor size on the package to match it. If you’re using wall plugs, make sure the bit is the same diameter as the plug, not smaller.
Why does my drill bit smoke while drilling?
That means it’s overheating. Likely causes are drilling too fast, using a dull bit, or not clearing the debris. Let the bit cool, clean it off, and drill slower next time.
Final Tips and Project Ideas
Once you’ve learned how to drill a clean hanging hole, the possibilities open up fast. I’ve used this same method for dozens of DIY and woodworking projects, and it always saves me time and frustration. Here are some quick tips and creative ideas to keep you inspired.
Use a Depth Stop or Tape
If you need to control the hole’s depth—say for mounting a shelf bracket—use a drill stop collar or wrap masking tape around the bit to mark how deep you should go. This ensures uniform holes every time, especially when drilling multiple pieces.
Test on Scrap Wood First
Even after years of experience, I still run test drills on scrap pieces. It helps me check the bit size, drill speed, and wood reaction. It also lets me see how the back of the hole will look, especially if I’m using plywood or hardwood with a grain pattern I want to protect.
Let the Bit Do the Work
Apply light, steady pressure. Don’t force the bit. If it’s sharp and spinning at the right speed, it will cut cleanly. If you’re pushing hard, something’s off—likely the bit choice or dullness. You can read Drill Bit Guru’s sharpening guide if you want to maintain your bits instead of replacing them.
Project Ideas That Use Hanging Holes
| Project Idea | Description |
|---|---|
| Floating Shelves | Drill two holes in the backboard and insert hidden brackets for clean walls. |
| Wooden Wall Art | Add small hanging holes with D-rings or wire on the back. |
| Key Holder Rack | Mount a small board with pegs and drill holes for flush wall mounting. |
| Kitchen Tool Hanger | Hang wooden strips with embedded hooks using drilled holes at the top. |
| Garage Tool Board | Use pegboard or DIY wooden panels with precise holes for hooks. |
I’ve personally built all of these at some point, and each one benefits from a clean, well-placed hanging hole.
If you’re new to these types of builds, Ana White’s DIY project plans are a goldmine for free, beginner-friendly woodworking ideas.
Conclusion
Drilling a perfect hanging hole in wood doesn’t have to be stressful. With the right tools, a few smart techniques, and a little patience, anyone can do it—no matter your experience level. I’ve drilled thousands of holes over the years in homes, job sites, and my own garage, and the core steps never change: mark accurately, clamp securely, drill slowly, and use the right bit.
Whether you’re hanging a photo frame or building a custom wall rack, these small actions lead to clean results that look pro-level. And the more you practice, the faster and more confident you’ll become. So don’t be afraid to start small, test your skills, and enjoy the process.
If you found this guide helpful, feel free to explore the related posts above. I also recommend bookmarking resources like Fine Woodworking, The Family Handyman, and Bob Vila for more project ideas, tool reviews, and safety tips.
Now grab your drill and let’s build something worth hanging!