Changing a drill bit on a Dewalt brushless drill is simple. First, remove the old bit.
Then, insert the new one. Dewalt brushless drills are popular for their power and efficiency. But, like any tool, they need proper care. Changing the drill bit is a basic task every user should know. This guide will walk you through the process.
You’ll learn how to safely remove and insert drill bits. This knowledge will help you work more efficiently. Whether you’re a DIY enthusiast or a professional, understanding this simple task is important. Let’s get started on making your projects smoother and more effective.
Article Summary
Safety Precautions
Changing a drill bit on a Dewalt brushless drill requires attention to safety. Always ensure your safety to prevent accidents and injuries. Here are essential safety precautions to follow.
Wearing Safety Gear
Always wear safety goggles to protect your eyes from flying debris. Gloves can protect your hands from cuts and bruises. Wearing ear protection helps reduce noise levels.
Unplugging The Drill
Before changing the drill bit, always unplug the drill. This prevents accidental starts that could cause injuries. If your drill is battery-powered, remove the battery pack.
Preparing The Drill
Before changing the drill bit on your Dewalt Brushless, it’s crucial to prepare the drill properly. This ensures safety and efficiency during the process. Follow these steps to get your drill ready for a bit change.
Securing The Drill
First, make sure the drill is turned off and unplugged. This prevents any accidental starts. Place the drill on a flat, stable surface. A workbench is ideal for this task. If you are using a cordless drill, remove the battery. This extra step ensures maximum safety while changing the bit.
Checking The Chuck
Next, inspect the chuck. The chuck is the part of the drill that holds the bit. Ensure it is clean and free of debris. If there is any dirt, use a soft brush to clean it. Once the chuck is clean, open it. Turn the chuck counterclockwise to loosen it. This will allow you to remove the old bit easily. If the chuck feels stuck, use a bit of force, but be gentle.
Now that the chuck is open, you can proceed to remove the old bit. Hold the bit with your fingers and pull it out. Be careful, as the bit might be sharp. With the old bit removed, you are ready to insert the new bit.
Removing The Old Bit
Changing the drill bit on your Dewalt Brushless drill is simple. This process starts with removing the old bit. It involves a few easy steps. Follow these steps to ensure safety and efficiency.
Loosening The Chuck
First, unplug the drill or remove the battery. This prevents any accidental starts. Next, locate the chuck at the front of the drill. The chuck holds the bit in place. Turn the chuck counterclockwise to loosen it. Some chucks have a key. Use the key if your drill has one. Otherwise, you can turn it by hand. Keep turning until the bit is loose.
Extracting The Bit
Once the chuck is loose, grasp the old bit. Pull it straight out from the chuck. If the bit is stuck, gently wiggle it as you pull. This should free the bit. Check the bit for any damage or wear. Dispose of it if it is no longer usable.
Now, your drill is ready for a new bit. Ensure the chuck is still loose before inserting the new bit.

Credit: diy.stackexchange.com
Inserting The New Bit
Changing the drill bit on your Dewalt brushless drill is easy. Follow these steps to ensure the new bit is securely in place.
Selecting The Bit
First, choose the right bit for your job. Dewalt offers a variety of bits for different tasks. Pick a bit that matches the material you will drill. Ensure the bit’s shank fits your drill’s chuck size.
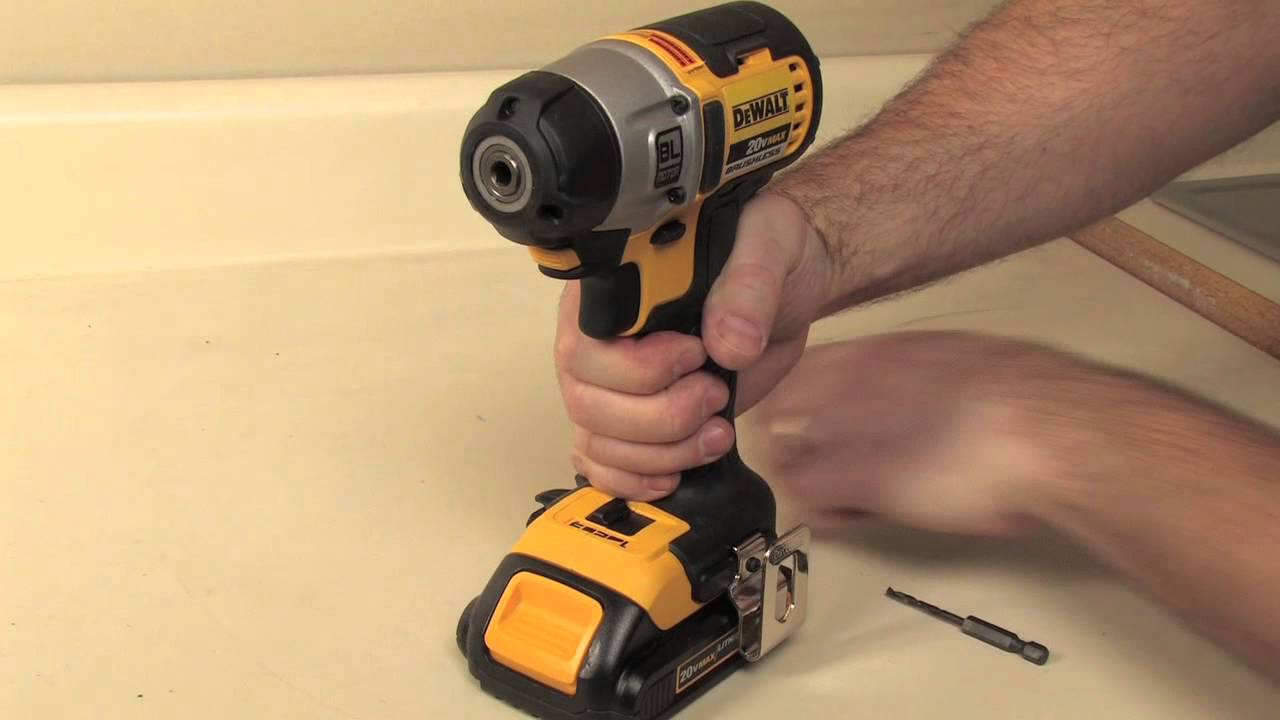
Inserting Into The Chuck
Next, open the chuck by turning it counterclockwise. Hold the drill with one hand and turn the chuck with the other. Insert the new bit into the chuck. Push it in as far as it can go. Ensure it is straight and centered.
Now, tighten the chuck by turning it clockwise. Do this until the bit is secure. Use your hand to make sure the bit does not wobble. Your new bit is ready for use.
Securing The New Bit
Changing a drill bit on your Dewalt Brushless drill can seem like a daunting task, but it’s easier than you might think. Once you’ve removed the old bit, securing the new one is the next crucial step. This ensures your drill operates efficiently and safely. Let’s dive into the process of securing the new bit with a focus on tightening the chuck and testing the bit.
Tightening The Chuck
Now that you’ve inserted the new bit into the chuck, it’s time to tighten it. This step is critical as it ensures the bit won’t slip while you’re drilling, which can lead to poor performance and potential injury. Here’s a simple way to do it:
- Hold the chuck with one hand and the drill with the other.
- Turn the chuck clockwise until you feel it grip the bit firmly.
- For added security, use the drill’s key (if it has one) to tighten the chuck further.
It’s like shaking hands with your drill – you want a firm grip, but not so tight that it crushes the bit.
Testing The Bit
Before you start drilling, it’s a good idea to test the bit to make sure it’s secured properly. This step is quick and can save you from potential mishaps.
- Set the drill to a low speed.
- Press the trigger lightly to see if the bit spins smoothly.
- If the bit wobbles or slips, tighten the chuck again.
Think of it as a quick warm-up before the actual game. A secure bit means a successful drilling experience!
Securing the new bit on your Dewalt Brushless drill isn’t rocket science. With these simple steps, you can ensure your drill is ready to take on any project. Whether you’re hanging a picture frame or building a deck, a properly secured bit is your first step to success. Happy drilling!
Common Issues
Changing a drill bit on a Dewalt Brushless drill can sometimes present problems. Understanding these issues can help you tackle them effectively. Let’s explore some common issues you might face.
Bit Slipping
One common issue is the bit slipping. This happens when the bit loosens during drilling. It can be frustrating and lead to poor performance. Ensure the bit is properly seated in the chuck. Tighten the chuck securely. If the bit continues to slip, check for wear and tear. Sometimes, a worn-out bit can slip despite proper tightening.
Chuck Not Tightening
Another issue is the chuck not tightening. This prevents the bit from being held firmly. Inspect the chuck jaws. Dirt and debris can prevent proper tightening. Clean the chuck thoroughly. If the problem persists, the chuck might be damaged. Consider replacing the chuck to ensure a secure grip.
Maintenance Tips
Taking good care of your Dewalt Brushless drill ensures it lasts longer and works efficiently. Like any tool, it needs some love and attention. Let’s dive into some simple maintenance tips to keep your drill in top shape.
Cleaning The Chuck
The chuck is the part that holds the drill bit. Keeping it clean is crucial. Here’s how you can do it:
- Turn Off the Drill: Always make sure the drill is off and unplugged.
- Remove Debris: Use a small brush or compressed air to get rid of dust and debris inside the chuck. This helps in keeping the grip strong.
- Wipe with Cloth: Take a damp cloth and wipe the outer part of the chuck. This prevents rust and dirt buildup.
Ever noticed your drill bit slipping? A dirty chuck might be the culprit. Clean it regularly to avoid this issue.
Storing Drill Bits
Proper storage of drill bits is just as important. Here’s a quick guide:
- Use a Case: Always store your bits in a case. It prevents them from getting lost and keeps them organized.
- Avoid Moisture: Keep the bits in a dry place. Moisture can cause rust, which dulls the bits.
- Label the Bits: If you have many different sizes, label them. It makes finding the right one easier.
Ever spent ages looking for that one drill bit? With proper storage, you’ll always know where everything is. Plus, your bits will stay sharp longer!
Maintaining your Dewalt Brushless drill is not rocket science. With these simple tips, you can keep your drill and bits in perfect condition. Happy drilling!
Credit: www.reddit.com
Credit: www.youtube.com
Frequently Asked Questions
How To Remove Drill Bit From Dewalt Brushless?
To remove the drill bit from a DeWalt brushless drill, turn the chuck counterclockwise until the bit loosens.
How Do You Unlock The Chuck On A Dewalt Drill?
To unlock the chuck on a Dewalt drill, hold the drill firmly. Turn the chuck counterclockwise to loosen it.
How To Change Drill Bit On Cordless Drill?
Turn the chuck counterclockwise to loosen. Remove the old bit. Insert the new bit. Tighten the chuck clockwise.
How Do I Get My Drill To Release The Bit?
To release the bit, hold the drill firmly. Turn the chuck counterclockwise to loosen it. Remove the bit.
Conclusion
Changing the drill bit on a Dewalt brushless is simple. Follow the steps carefully. Always ensure your drill is off before starting. Remove the old bit by loosening the chuck. Insert the new bit and tighten securely. Test the drill to ensure the bit is locked.
Regular maintenance keeps your drill in top shape. Now, you can confidently change drill bits and continue your projects. Happy drilling!