Are you starting a DIY project, and need to screw two pieces of wood together? Maybe you’ve struggled with screws splitting the wood or not going in straight. Drilling the right size hole beforehand can solve these common problems. It makes the process easier and your results look much better. This detailed guide will walk you through the process. You’ll learn everything you need to know to drill perfect holes every time. Get ready for smooth, successful screwing!
Article Summary
- Tools and Materials You’ll Need
- Step-by-Step Guide: How to Drill a Hole in Wood for a Screw
- Tips for Success
- Common Mistakes to Avoid
- Different Types of Drill Bits
- Safety Precautions
- Maximizing the Life of Your Drill Bits
- Troubleshooting Common Problems
- Resources for Further Learning
- FAQ: Drilling Holes in Wood for Screws
- Conclusion
Tools and Materials You’ll Need
Before you begin, gather your tools and materials. Having everything on hand will make the process much smoother. Here’s a checklist to get you started:
- Drill: A power drill (corded or cordless) is essential.
- Drill Bits: You’ll need drill bits, including a pilot hole drill bit.
- Screws: The screws you plan to use.
- Wood: The pieces of wood you are joining.
- Measuring Tape or Ruler: For accurate measurements.
- Pencil: To mark the drilling spot.
- Safety Glasses: To protect your eyes.
- Work Gloves: To protect your hands (optional).
Step-by-Step Guide: How to Drill a Hole in Wood for a Screw
Follow these steps to drill a hole in wood for a screw. Accurate drilling is key to a strong, lasting connection. Let’s dive in:
Step 1: Choose the Right Drill Bit Size
The drill bit size is crucial. You want a pilot hole that’s slightly smaller than the screw’s core (the part without the threads). Also, consider the wood type. Softwoods (like pine) need smaller pilot holes than hardwoods (like oak).
Here’s a table to guide you:
| Screw Size | Recommended Pilot Hole Drill Bit Size | Wood Type |
|---|---|---|
| #6 | 1/16″ or 5/64″ | Softwood |
| #6 | 5/64″ or 3/32″ | Hardwood |
| #8 | 5/64″ or 3/32″ | Softwood |
| #8 | 3/32″ or 7/64″ | Hardwood |
| #10 | 3/32″ or 7/64″ | Softwood |
| #10 | 7/64″ or 1/8″ | Hardwood |
Step 2: Measure and Mark the Spot
Precise measurements are essential. Use a measuring tape or ruler to determine the exact location for your screw. Use a pencil to mark the spot on the wood. Making a small indentation with a nail or awl can help the drill bit stay in place.
Step 3: Secure the Wood
Place the wood on a stable surface. If you’re working with a small piece, clamp it to your workbench. This prevents the wood from moving while you drill. It also improves safety.
Step 4: Select and Insert the Drill Bit
Choose the appropriate drill bit size. Insert the bit into the drill’s chuck (the front part that holds the bit). Tighten the chuck securely. Make sure the drill bit is centered.
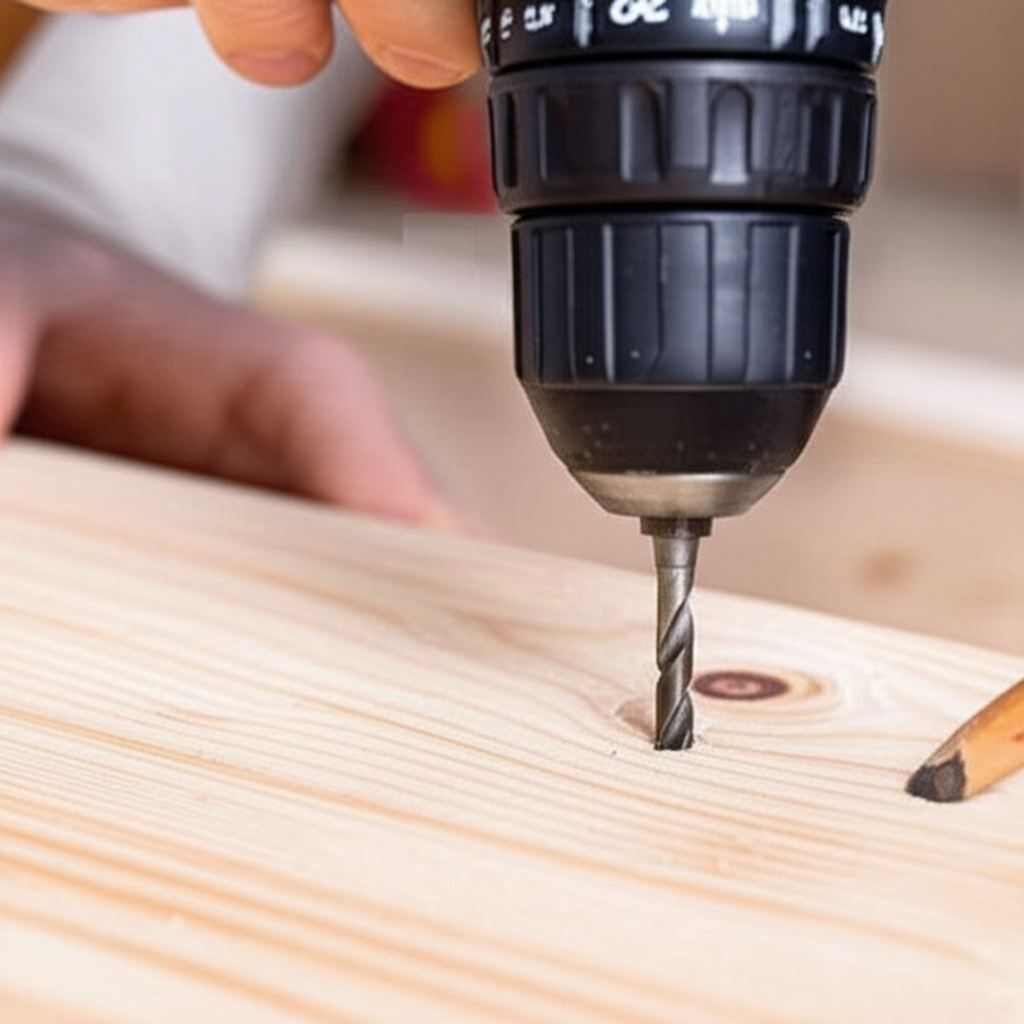
Step 5: Start Drilling the Pilot Hole
Place the drill bit tip over your marked spot. Start the drill at a slow speed. Apply steady, even pressure. Drill straight down into the wood. Stop when the hole is deep enough to accommodate the screw’s unthreaded shank. The depth of the pilot hole should be slightly longer than the screw’s length.
Step 6: Drive in the Screw
Align the screw with the pilot hole. Use a screwdriver or a drill with a screw-driving bit. Start at a slow speed. Apply steady pressure as you drive the screw in. Avoid over-tightening, which can strip the wood or damage the screw head.
Step 7: Check Your Work
Inspect your work. The screw should be flush with the surface of the wood. If the screw is not straight, remove it and try again. If the screw is too tight, consider a slightly larger pilot hole next time. If you are working in a softwood, a pilot hole is generally not needed; however, for hardwoods, a pilot hole is a must have.
Tips for Success
Here are some helpful tips to make drilling holes in wood easier and more successful:
- Use a Drill Guide: For perfectly straight holes, use a drill guide. These tools help you drill at a consistent angle.
- Pre-Drill in Hardwoods: Always pre-drill pilot holes in hardwoods. This prevents splitting and makes screwing much easier.
- Adjust Drill Speed: Start with a slow speed for better control. Increase the speed as needed, based on the wood type.
- Consider Countersinking: If you want the screw head to be flush or below the surface, use a countersink bit.
- Use Lubrication: For tough hardwoods, consider using wax or a bit of soap on the screw threads. This reduces friction and makes driving easier.
Common Mistakes to Avoid
Avoiding these common mistakes will lead to better results and less frustration:
- Using the Wrong Drill Bit Size: Always double-check the correct size.
- Drilling at an Angle: Keep your drill perpendicular to the wood surface.
- Forcing the Screw: If the screw is hard to drive, stop and check your pilot hole.
- Over-Tightening Screws: This can strip the wood or damage the screw head.
- Not Wearing Safety Glasses: Always protect your eyes from flying debris.
Different Types of Drill Bits
Knowing the different types of drill bits can improve your drilling performance. Here are some of the most common types:
- Twist Drill Bits: These are the most common type. They work well for general wood drilling.
- Brad Point Bits: These bits have a sharp point that helps with precise hole placement. They are excellent for clean holes in wood.
- Spade Bits: These are flat bits that are used to drill larger holes quickly.
- Countersink Bits: These bits create a conical recess to allow screw heads to sit flush with the surface.
Safety Precautions
Safety is key when using power tools. Always follow these safety precautions:
- Wear Safety Glasses: Protect your eyes from flying debris.
- Use Work Gloves: These can protect your hands.
- Work in a Well-Lit Area: Good visibility is essential.
- Unplug the Drill When Changing Bits: This prevents accidental starts.
- Keep the Work Area Clear: Remove any obstacles.
- Read the Drill’s Manual: Know the specific safety instructions for your tool.
Maximizing the Life of Your Drill Bits
Caring for your drill bits can extend their life and improve performance. Here are a few tips:
- Keep them Clean: Wipe off shavings and debris after each use.
- Store Properly: Store drill bits in a case or organizer to protect them from damage.
- Avoid Overheating: Let the drill bit cool down if you notice it getting hot.
- Sharpen When Needed: Dull drill bits can be sharpened to restore their cutting ability or replaced if necessary.
Troubleshooting Common Problems
Sometimes, things don’t go as planned. Here’s how to troubleshoot common drilling problems:
- Screw Splitting the Wood: The pilot hole is too small, or the wood is very dry. Use a larger bit.
- Screw Not Going In Straight: The drill wasn’t held perpendicular to the wood. Start again.
- Screw Stripping the Wood: The pilot hole is too large, or you’re over-tightening. Use a smaller pilot hole or back off on the screwing pressure.
- Drill Bit Wandering: The drill bit is not starting in the right spot. Use a nail or awl to create a starting point.
Resources for Further Learning
Want to learn more? Here are some helpful resources:
- Hardware Stores: Visit hardware stores like Home Depot or Lowe’s for advice and product demonstrations.
- Online Tutorials: YouTube and other platforms offer numerous step-by-step tutorials.
- Tool Manufacturers: Check the websites of tool manufacturers (e.g., DeWalt, Milwaukee, Ryobi) for guides and product information.
- DIY Websites: Explore websites like Family Handyman and This Old House for project ideas and tips.
FAQ: Drilling Holes in Wood for Screws
Here are answers to some frequently asked questions about drilling holes in wood for screws:
- What size drill bit should I use for a #8 screw in softwood?
For a #8 screw in softwood, a 5/64″ or 3/32″ drill bit is usually recommended. - Do I always need a pilot hole?
Yes, in hardwoods, it’s highly recommended. In softwoods, it depends. Pilot holes provide better control and prevent splitting. - How deep should the pilot hole be?
The pilot hole should be slightly deeper than the length of the unthreaded shank of the screw. - Can I use a drill bit to countersink a screw?
While you can use a countersink bit specifically designed for this purpose. - What is the difference between a drill and a driver?
A drill is designed for drilling holes, while a driver is made for driving screws. Many modern drills have a driving function. - How can I prevent the wood from splitting when screwing?
Use the correct pilot hole size, drill slowly, and avoid over-tightening. - What should I do if my screw breaks off in the wood?
Try using a screw extractor. If that doesn’t work, you might need to use a larger screw or fill the hole with wood filler and start again.
Conclusion
Drilling holes in wood for screws doesn’t have to be difficult. By following the steps outlined in this guide, you can achieve professional-looking results. Remember to choose the correct drill bit size, measure accurately, and take your time. With practice, you’ll become confident in your ability to create strong, lasting connections. So, grab your drill, and get started on your next project! Happy drilling!