Need a hole in plywood but don’t have a drill? No problem! You can use hand tools like a hand saw, coping saw, or even a utility knife (for smaller holes) to get the job done. This guide will walk you through the easiest methods, ensuring you get clean, accurate holes without needing a drill. Let’s get started!
Article Summary
- Tools You’ll Need (No Drill Required!)
- Method 1: Using a Hand Saw
- Method 2: Using a Coping Saw
- Method 3: Using a Utility Knife
- Safety First: Important Tips
- Choosing the Right Method for Your Project
- Tips for Clean Cuts
- Common Mistakes and How to Avoid Them
- Alternative Methods (If You Have Them)
- FAQ: Frequently Asked Questions
Tools You’ll Need (No Drill Required!)
Before we dive into the methods, let’s gather the tools. You likely have many of these already. Having the right tools makes the job easier and safer.
- Hand Saw: For larger holes and straight cuts.
- Coping Saw: Ideal for curved cuts and intricate shapes.
- Utility Knife: Great for smaller holes or scoring the wood.
- Hammer: To help drive tools or create pilot holes.
- Screwdriver (or Awl): For creating a pilot hole to guide your saw.
- Pencil or Marker: To mark your cutting lines.
- Measuring Tape: For accurate measurements.
- Safety Glasses: Protect your eyes from debris.
- Work Gloves: For a better grip and hand protection.
- Clamps: To secure the plywood while cutting.
- Sandpaper: To smooth the edges after cutting.
- Wood Chisel: To clean up rough edges (optional).
Method 1: Using a Hand Saw
The hand saw is a versatile tool for creating holes of various sizes in plywood. This is a great option if you need a reasonably clean cut and don’t have a power saw.
- Measure and Mark: Use a pencil and measuring tape to mark the size and location of your hole on the plywood.
- Create a Pilot Hole: This is crucial to get started. Use a screwdriver or awl to create a small pilot hole at the center of your marked area. This gives the saw a starting point.
- Start the Cut: Position the saw blade in the pilot hole and begin sawing. Use a steady, downward motion. Angle the saw slightly to start the cut.
- Saw Along the Line: Guide the saw along your marked lines. Maintain a consistent pace, and let the saw do the work. Don’t force it.
- Complete the Cut: As you saw, the piece of plywood will eventually detach. Be ready to support the cutout to prevent it from breaking off unevenly.
- Clean Up the Edges: Use sandpaper to smooth the edges of the hole. You can also use a wood chisel to remove any splinters or rough edges.
Method 2: Using a Coping Saw
The coping saw is perfect for creating curved cuts and intricate shapes in plywood. It’s especially useful if your hole is circular or has curves.
- Measure and Mark: Accurately mark the hole’s shape on the plywood.
- Create a Pilot Hole: Just like with the hand saw, create a pilot hole to insert the saw blade.
- Insert the Blade: Detach one end of the coping saw frame. Insert the blade through the pilot hole and reattach the frame. Ensure the blade teeth face the correct direction (downward).
- Start Sawing: Place the plywood on a stable surface. Guide the saw along the marked line. The coping saw cuts on the pull stroke, so pull the saw toward you.
- Follow the Curve: The coping saw’s thin blade allows you to navigate curves easily. Turn the plywood as needed to follow the line.
- Complete the Cut and Finish: Continue sawing until the piece is cut out. Sand the edges to smooth any roughness.
Method 3: Using a Utility Knife
For smaller holes or for making initial scoring cuts, a utility knife can be a practical choice. This method is best for thin plywood and smaller openings.
- Measure and Mark: Use a pencil or marker to indicate the location and size of the hole.
- Score the Wood: Using a sharp utility knife, carefully score along the marked lines. Make multiple passes, applying more pressure with each pass.
- Cut Through the Plywood: After scoring several times, the knife should start to cut through the plywood. Continue to work your way through the wood by making multiple passes.
- Remove the Cutout: Once the blade has cut through, remove the piece of plywood.
- Clean Up the Edges: Use the utility knife or sandpaper to clean up any rough edges.
Safety First: Important Tips
Working with tools requires safety precautions. Always prioritize your safety to avoid injuries. Here are some essential safety tips:
- Wear Safety Glasses: Always wear safety glasses to protect your eyes from wood chips and debris.
- Use Work Gloves: Work gloves provide a better grip and protect your hands from cuts and splinters.
- Work in a Well-Lit Area: Adequate lighting allows you to see your work clearly and reduce the risk of accidents.
- Secure the Plywood: Clamp the plywood to a workbench or stable surface to prevent it from moving while you cut.
- Keep Blades Sharp: A dull blade is more dangerous than a sharp one. Ensure your saw blades and utility knives are sharp for easier and safer cutting.
- Take Breaks: If you’re working on a large project, take breaks to avoid fatigue, which can lead to mistakes.
- Be Mindful of Your Surroundings: Ensure that your workspace is free of obstructions and that children and pets are kept away.
Choosing the Right Method for Your Project
The best method depends on your project’s needs. Consider these factors when choosing:
| Tool | Best For | Pros | Cons |
|---|---|---|---|
| Hand Saw | Straight cuts, larger holes | Easy to use, good for general use | Can be harder to control for intricate shapes, may be less accurate |
| Coping Saw | Curved cuts, intricate shapes | Excellent for curves, precise | Slower than hand saw for straight cuts |
| Utility Knife | Small holes, scoring | Easy to control, good for detailed work | Best for thin plywood, can be slow |
Consider the size, shape, and the level of detail you need for your project to select the most suitable method.
Tips for Clean Cuts
Achieving clean cuts requires careful technique. Here are some tips to help you:
- Use a Sharp Blade: A sharp blade makes cleaner cuts and requires less effort.
- Cut Slowly and Steadily: Avoid rushing. A slow, steady pace gives you more control and prevents splintering.
- Support the Plywood: Make sure the plywood is well-supported to prevent it from bending or breaking during the cut.
- Use Clamps: Secure the plywood to a workbench or table to keep it stable.
- Sand the Edges: After cutting, sand the edges to remove any splinters or rough spots.
Common Mistakes and How to Avoid Them
Even experienced DIYers make mistakes. Understanding common errors can help you avoid them and get better results.
- Forcing the Saw: Forcing the saw can lead to uneven cuts and splintering. Let the saw do the work.
- Not Using a Pilot Hole: Without a pilot hole, it’s more difficult to start a cut accurately, and the saw may wander.
- Using a Dull Blade: Dull blades make cutting difficult and increase the risk of accidents.
- Not Securing the Plywood: An unstable piece of plywood is more likely to move, leading to inaccurate cuts.
- Rushing the Process: Rushing often leads to mistakes. Take your time and focus on the details.
Alternative Methods (If You Have Them)
While this guide focuses on methods without a drill, here are a few alternatives you can consider if you have them or the opportunity to borrow them:
- Jigsaw: A jigsaw is excellent for cutting curves and intricate shapes. (See Family Handyman’s guide on using a jigsaw)
- Circular Saw: A circular saw is ideal for long, straight cuts. (See This Old House’s guide on using a circular saw)
- Hole Saw (with Drill): Hole saws are specifically designed for making circular holes. If you have access to a drill, this is a quick solution. (See Lowe’s guide on using a hole saw)
FAQ: Frequently Asked Questions
Here are some common questions that beginners often have about making holes in plywood:
1. Is it possible to make a hole in plywood without using a drill?
Yes, it is possible. You can use alternative tools like a hammer and nail, awl, screwdriver, hole saw (manual), or even heated metal objects, depending on the size and precision you need.
2. What are some common tools I can use instead of a drill?
-
Nail and Hammer: For small starter holes.
-
Manual Screwdriver: Twisting with pressure can create small holes.
-
Utility Knife: Good for thin plywood, especially for square or rectangular holes.
-
Hole Punch or Awl: Useful for small, accurate starter holes.
-
Heated Metal Rod: Can be used to melt through thin plywood (use with caution).
3. Which method is best for creating small holes without a drill?
A nail and hammer or an awl are the most effective and accessible for making small pilot holes in plywood without splintering.
4. How do I make a clean hole without splintering the plywood?
Score the surface lightly with a utility knife where the hole will be made. This reduces surface splintering when applying force with other tools.
5. Can I use a saw to make a hole in plywood?
Yes, a keyhole saw or coping saw can be used, especially if you first make a small starter hole with a nail or awl. This method works well for larger holes.
6. Is using a heated metal rod safe for making holes?
It can work for thin plywood, but it’s not highly recommended due to the risk of fire, toxic fumes, and damage to the material. Use only with extreme caution and proper ventilation.
7. What size hole can I make without power tools?
You can typically make holes up to 1–2 inches manually, but it depends on the tool and your patience. Larger holes may require a saw or chisel.
8. How can I make a round hole without a drill?
Start with a nail to mark the center, then carefully cut around the circle using a keyhole or coping saw. Sand the edges to smooth it out.
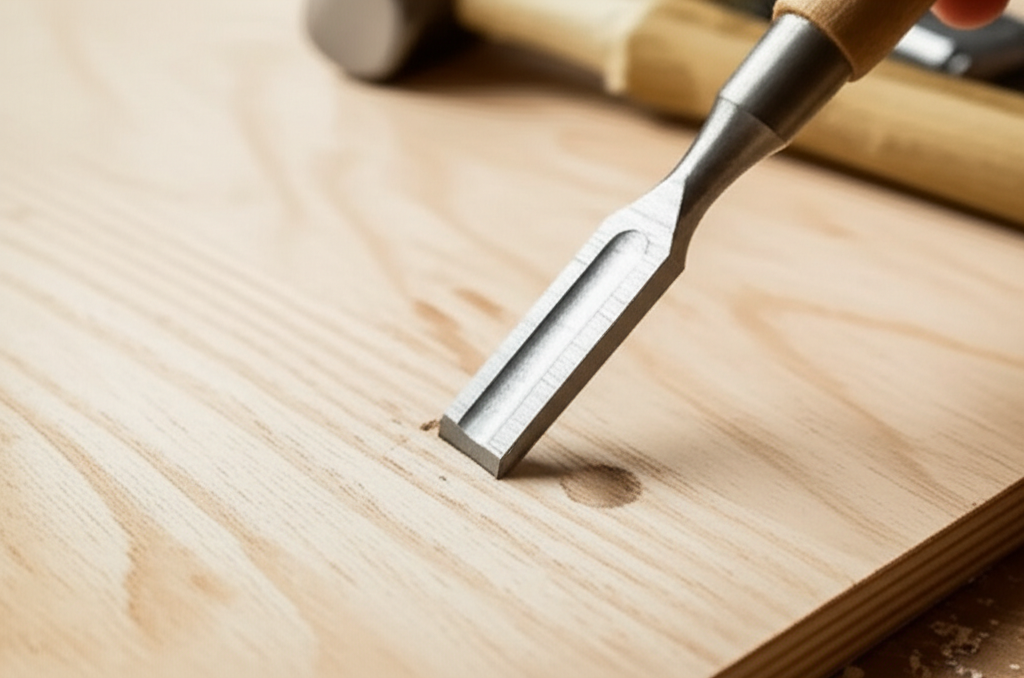
9. Is it okay to use a chisel on plywood?
Yes, for square or rectangular holes. Use a sharp chisel and go slow to prevent tearing the top veneer layer.
10. Will manually made holes be strong enough for screws or bolts?
Yes, if done carefully. Ensure the hole is the correct diameter and depth. Use wood glue if needed for reinforcement.